
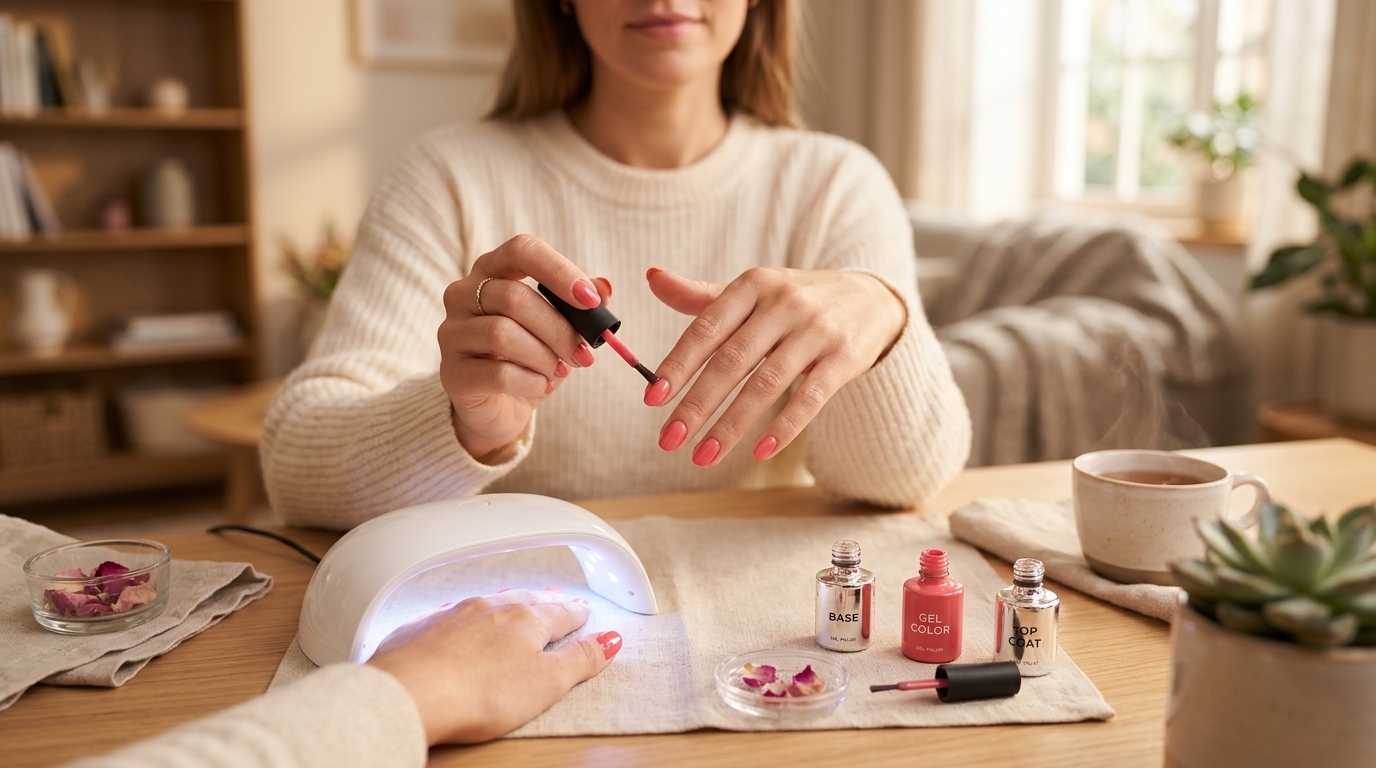
The bill was $72 after tip, and I wasn’t even out the salon door before the first chip happened. My thumb caught on the strap of my bag, there was a tiny click I could feel, and when I looked down there was already a bare pink corner on my otherwise-perfect gel manicure. Two hours of my life, $72 of my money, and somehow I was already un-manicured on the sidewalk.
That was the last professional gel manicure I paid for. I went home, spent about ninety dollars on a starter kit, watched approximately forty YouTube videos over two weeks, and started doing my own gels. The first few were not good. The ones I did from month three onward have routinely lasted three full weeks without chipping, lifting, or peeling — which is better than any salon manicure I’d had in a decade.
I want to share what I learned, because almost every piece of at-home gel advice online skips the parts that actually determine whether the manicure lasts. The polish brand matters less than people say. The prep matters more than anyone tells you. Here’s the honest, unglamorous version of how to do this right.
The Salon Bill That Made Me Snap

I used to go to the salon every two or three weeks. At $60-75 a visit plus tip, it added up to about $1,500 a year on manicures — and that’s a conservative estimate. Half the time I’d be frustrated by the result before I even got to the car. A chip on day two. Lifting around the cuticles on day four. Full peeling by week two. And every appointment required blocking off two hours of a weekend.
The breaking point was less about the money than about the lottery of it. A great technician would give me a two-week, beautifully finished manicure. A rushed one would give me a five-day mess. I couldn’t control which technician I’d get, I couldn’t control how much care they’d put into prep, and I couldn’t control how well they’d cure each layer. I was paying a premium to not be in control.
At-home gel, for me, became a reassertion of control. I could take thirty extra seconds to push my cuticles back properly. I could prep each nail with the specific products I knew worked. I could cure each layer for the right amount of time. The variables were mine. The results, once I figured out the system, were dramatically more consistent than anything I’d gotten paying strangers.
The first few attempts, though, were humbling. I’d been getting manicures for years; how hard could this be? As it turned out: not hard, exactly, but precise. There were four or five steps I’d never thought about because I’d never seen anyone perform them, and skipping any of them cost me a week of wear. Which brings me to the single biggest lesson I learned.
The Prep Step Everyone Skips (And Why Your Polish Chips)
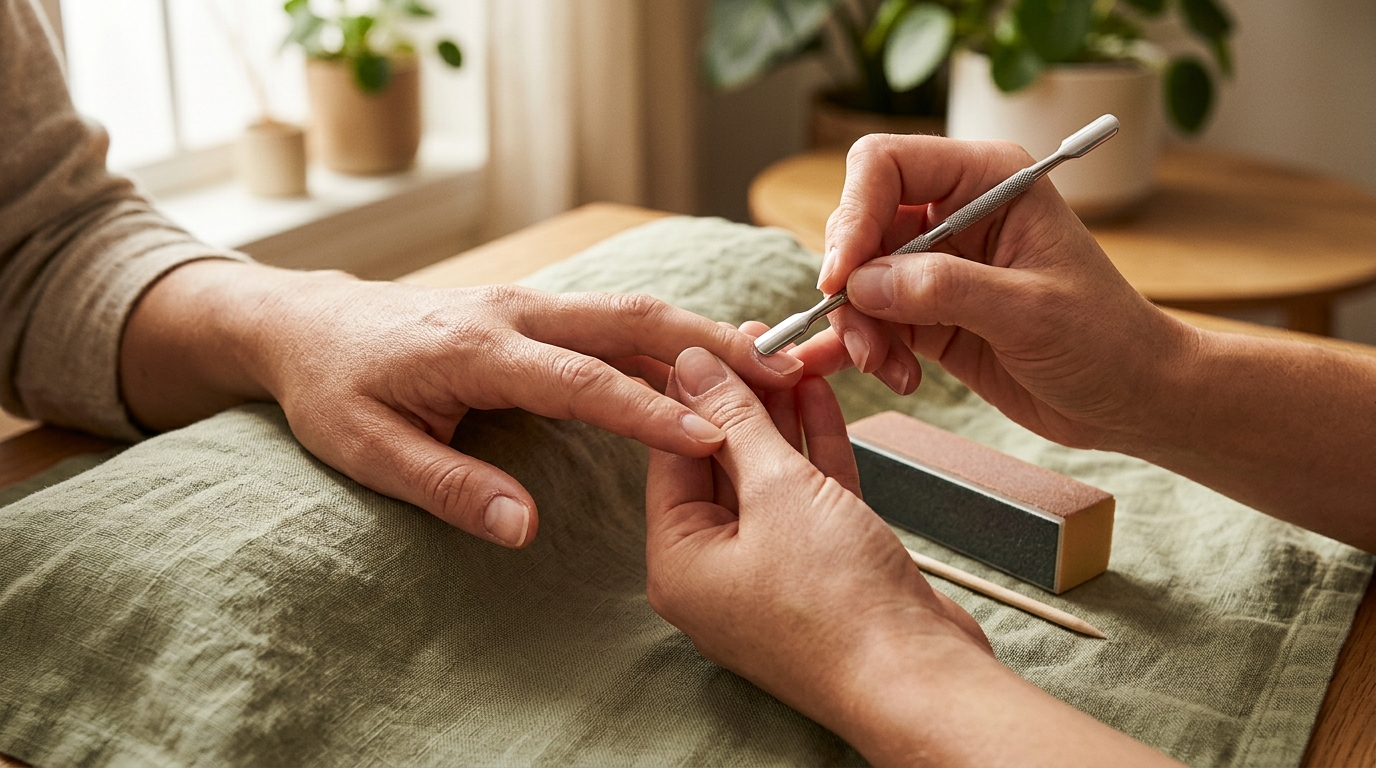
If your gel manicure chips within a week, I can guess, with maybe 90% accuracy, that you’re not prepping your nail properly before you start applying polish. This is the entire secret. Not the polish brand. Not the lamp wattage. Not the top coat. Prep.
The full prep sequence, in order, with no shortcuts:
- Push back cuticles with a wooden stick or a stainless steel cuticle pusher. Don’t cut them. Just push the live cuticle off the nail plate.
- Gently buff the nail surface with a four-way file’s medium side — just enough to take the shine off. This is how gel grips. Don’t over-buff; you don’t want to thin the nail. Three or four strokes.
- Shape the free edge with a glass or crystal nail file. A crystal file is the kind used by my grandmother, and it’s also by far the best tool for this — it doesn’t tear the nail.
- Wipe the nail down with alcohol to remove buffing dust and any residue. A cotton pad with 91% isopropyl is fine. Lint-free wipes are better.
- Apply nail dehydrator to each nail. This removes the natural moisture and oil from the nail surface that otherwise prevents gel adhesion. Let it dry for 20-30 seconds.
- Apply a thin layer of primer/bonder, one nail at a time. Let it dry (don’t cure — some dry, some cure; read the label).
The dehydrator and primer steps are the ones that change everything. When I started, I skipped both. My manicures lasted about a week. When I added them, my manicures started lasting three weeks. That’s not an incremental improvement. That’s a complete shift in what the at-home gel experience can be.
A few other prep notes that matter: don’t use a nail polish remover with added moisturizers on prep day — it leaves residue. Don’t apply hand cream before a manicure — same issue. Do clip your cuticles if there’s loose skin, but don’t go near the live cuticle line.
My Exact Product Setup
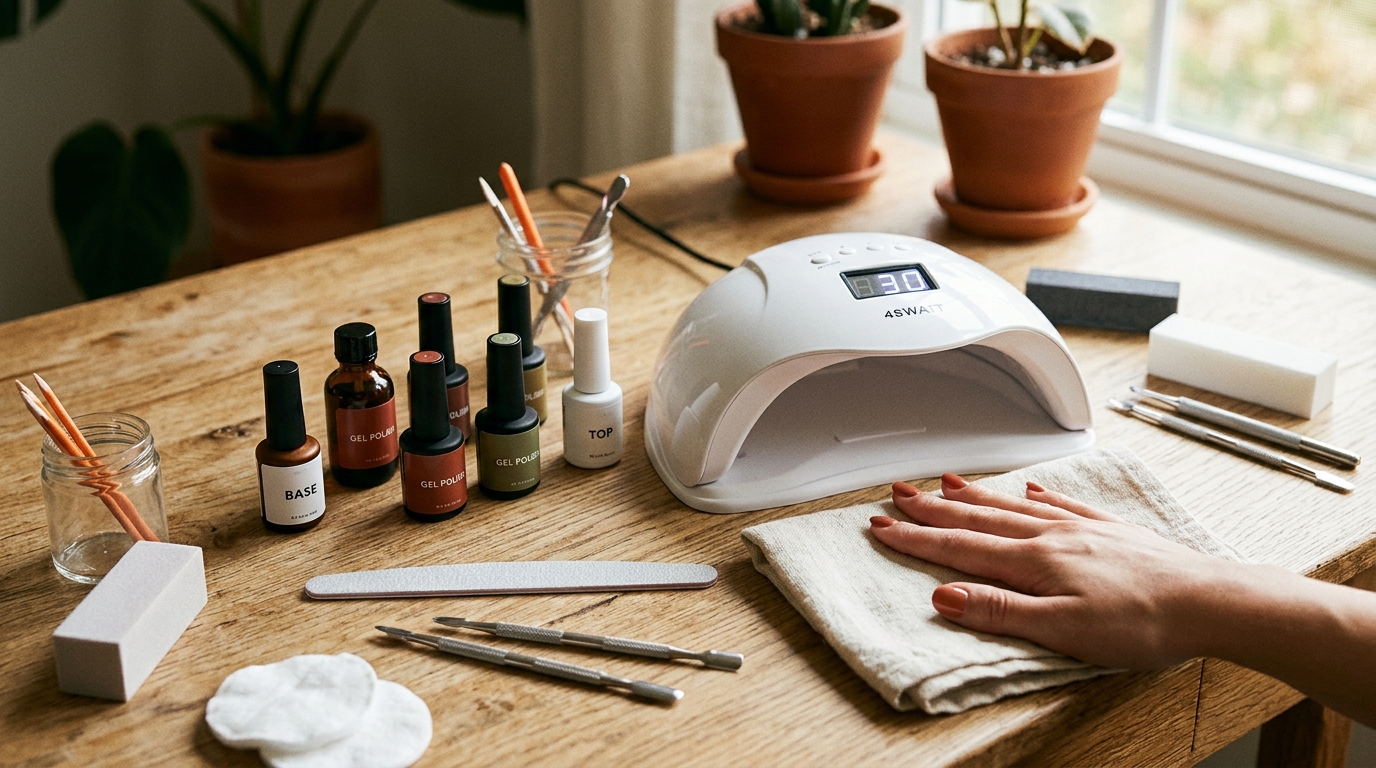
I’ll give you the honest breakdown of what I actually own and use, because there’s a lot of garbage advice online telling people to buy gel kits that don’t include half the actual steps.
LED lamp. I use a 48-watt LED lamp. Good power, quick cures, timer settings built in. You do not need a salon-grade lamp; you need one that cures gel reliably in 30-60 seconds per layer. Beware of very cheap lamps; underpowered lamps cause most of the “my gel won’t harden” complaints people have.
Base coat. A proper gel base coat — not “two-in-one” products. A good professional gel base coat adheres to the nail and to the color. This is where cheap kits fail. Spend here.
Color. I have a rotation of maybe a dozen colors from a mid-price brand. Polish brand matters less than people claim. What matters is thin layers and full cure. Even a budget polish, applied in two thin coats and cured properly, can last three weeks.
Top coat. A no-wipe top coat is worth it. No more acetone wipe at the end, no sticky residue, higher gloss. One product I’m genuinely brand-loyal to.
Cuticle oil. Daily application, forever. This isn’t for the manicure — it’s for the nail. Dry cuticles cause gel to lift. A cuticle oil pen lives in my bag and I use it two or three times a day. Your nails will look healthier, your manicure will last longer, and your cuticles will stop looking like a hazard zone.
Acetone. 100% pure acetone for removal. Not “nail polish remover.” They’re not the same. The latter contains conditioners that slow the removal and damage your nails more, not less. Get a dedicated bottle of pure acetone for gel removal.
That’s the kit. Total initial investment: about $120. Replaces a year of salon visits in savings within the first month and a half.
The Application Method That Finally Gave Me 3-Week Wear
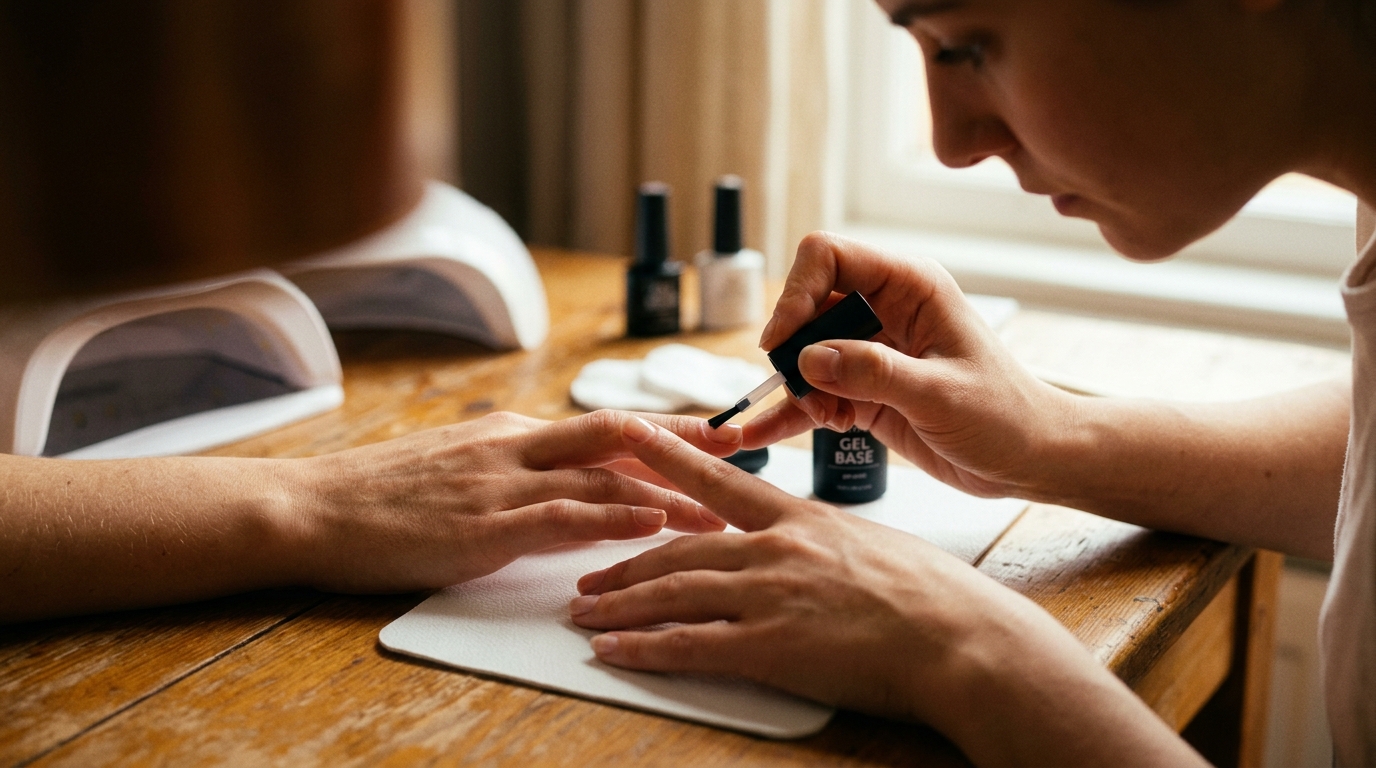
Here’s where I went wrong for my first dozen attempts. I was applying gel the way I applied regular nail polish: a thick swipe down the middle, then one on each side. Gel does not work like regular polish. It wants to flow. It wants thin layers. It wants to be kept off the skin.
The technique that transformed my results:
- Start with the base coat. Dip the brush, wipe one side on the bottle neck, and apply very thinly. You should barely see the layer. Paint one nail at a time — don’t do all ten before curing.
- Before curing, cap the free edge — meaning, take the brush and swipe it along the edge of the nail from underneath. This is what seals the tip against chipping.
- Cure. Follow the lamp’s recommendation — usually 30-60 seconds for base coat.
- First color coat, equally thin. Yes, it will look streaky. That’s normal. Cure.
- Second color coat. This one should be a full opaque layer. Still not too thick. Cap the free edge again. Cure.
- Top coat, slightly more generous. Cap the free edge one more time. Cure for the full recommended time — usually 60 seconds for top coat.
Two other details that make a huge difference:
- Leave a tiny gap at the cuticle. Don’t paint all the way to the edge. A millimeter of uncovered nail at the cuticle prevents the gel from lifting when your nail grows out. It looks imperfect for the first few days. By week two, it looks perfect because it hasn’t lifted.
- Don’t let polish touch your skin. If you swipe onto the cuticle or sidewall, wipe it off immediately with a brush or a corner of an orange stick. Polish on skin causes lifting within days. This is the single most common mistake new at-home gel users make.
When I started doing both of these rigorously, my average wear jumped from a week to three weeks. Same products. Same lamp. Same everything else. The application was the bottleneck.
The Removal That Won’t Wreck Your Nails
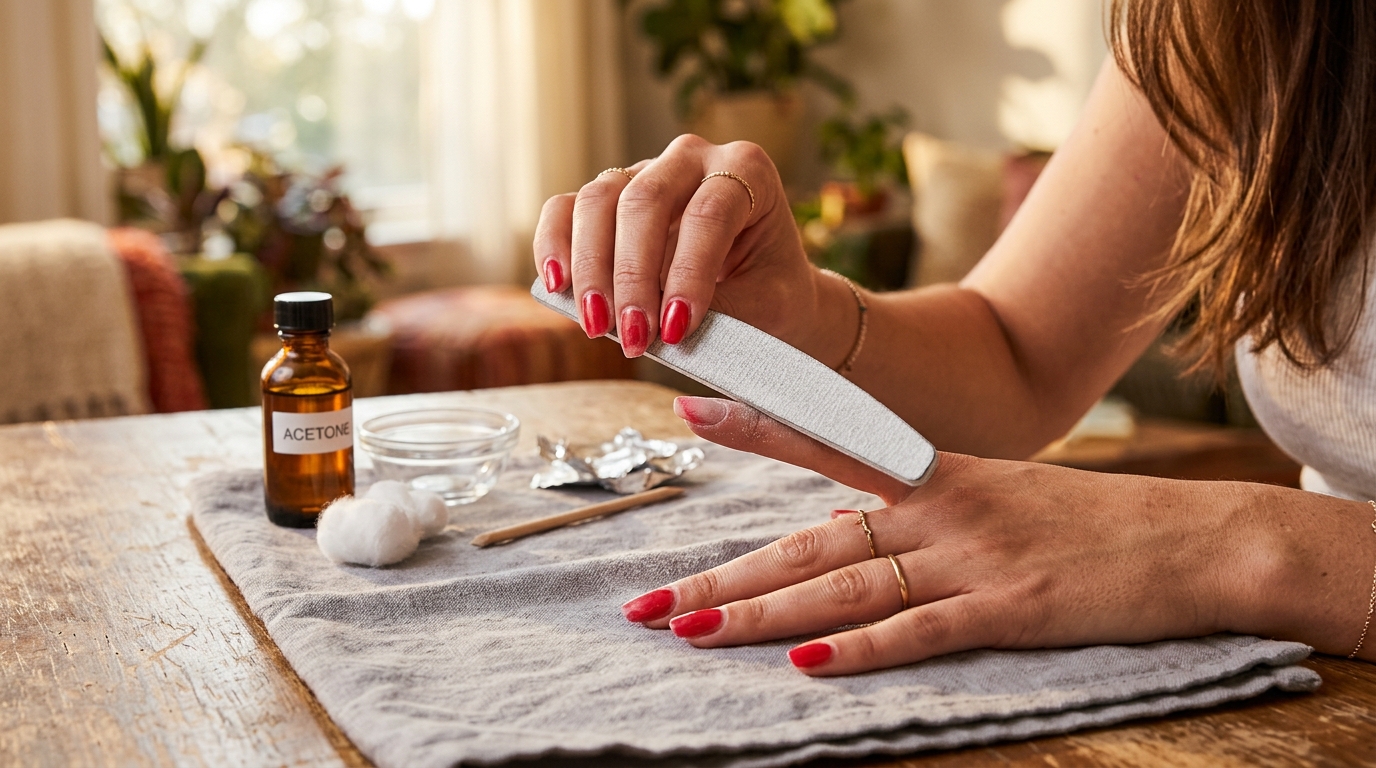
The other thing that almost nobody does right is removal. The way I used to take gels off was to pick at them until they came off, which stripped layers of my actual nail every time. Two years of doing that left my nails paper-thin and peeling. That’s what finally pushed me to learn proper removal.
The correct method:
- File the top coat and color down with a medium-grit file until you’ve broken the shiny top layer. This is what lets the acetone penetrate. Don’t file to bare nail — just roughen the surface.
- Cut ten small squares of cotton. Saturate each with pure acetone. Place one on each nail. Wrap each nail in aluminum foil (or use reusable silicone finger clips, which I now love).
- Wait 10-15 minutes. Resist the urge to check. Time matters more than technique.
- Remove one nail’s foil at a time. Slide the cotton off while applying gentle pressure. The gel should come with it, like a thin jelly. If it doesn’t, re-wrap for another 5 minutes. Do not scrape.
- Gently buff any residue with a nail buffer. Apply cuticle oil. Let the nail rest at least a day before the next application.
That last point is crucial and I still sometimes ignore it. Gel, done properly, is not damaging to nails. Rushed or botched removal, on the other hand, will destroy them. If you take nothing else from this article, take this: never, ever pick a chip off your gel. Even a small chip. You will take the top layer of your nail with it, and it takes months to recover.
Final Thoughts: The Confidence of a Good Manicure

I wasn’t expecting to write what I’m about to write. The thing at-home gel gave me that I didn’t anticipate was confidence about my hands in a way no salon manicure had. I know exactly what’s on them. I know when it’s going to need replacing. I know I can do it at 10pm on a Sunday if I want. I’m no longer at the mercy of someone else’s schedule or skill.
The financial math is real — I’ve saved over $3,000 in two years. But the autonomy is bigger. There’s something quietly powerful about taking a thing that used to feel like a service performed on you, and making it into a skill you own.
A word of caution before I close: my nails now are in much better shape than they were when I was getting salon gels. Yours may get worse before they get better, because you’ll probably make a mess of your first few removals. That’s normal. Be patient. Apply cuticle oil constantly. Your nails will be fine.
The skill isn’t glamorous. It’s just the sum of a lot of small careful steps, done in the right order. Once you’ve done it right a few times, doing it right becomes the default.
If you’re on the fence, I’ll say this: a starter kit costs about one month of salon visits. You can test drive the whole thing for less than you’d spend on a single bad salon appointment. And the first time you do a full manicure at home in thirty-five minutes, watching whatever you want, wearing whatever you want, you’ll understand why I haven’t been back to a salon in two years.






Leave a Reply