
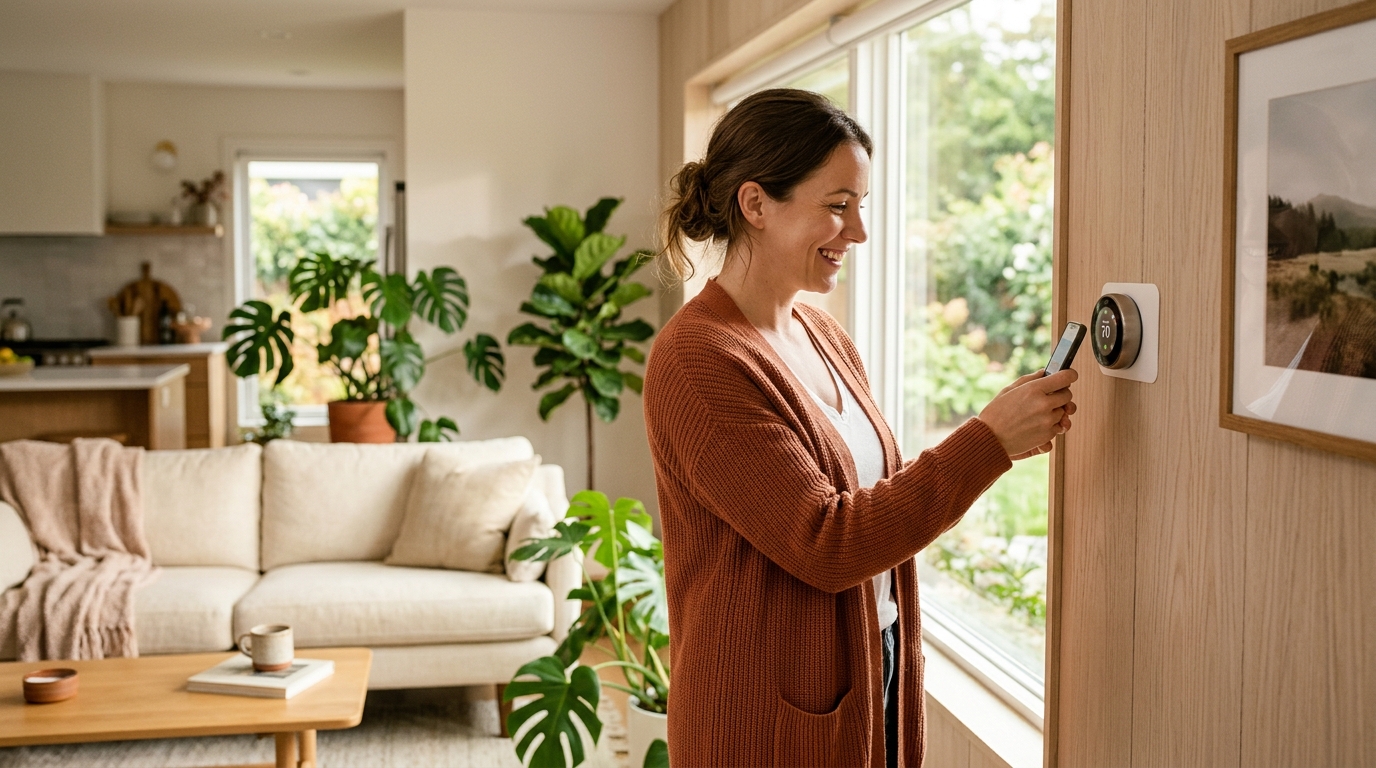
Last January, I opened my electricity bill and nearly dropped my coffee. $347 for one month. I live in a three-bedroom house, just me and my partner, and somehow we had managed to rack up a bill that felt closer to a mortgage payment than a utility cost. I sat there staring at that number, genuinely baffled, trying to figure out where all that energy was actually going. That moment of sticker shock turned into what I can only describe as a minor obsession — and over the next six months, I systematically cut that bill nearly in half.
Here’s what surprised me most: I didn’t do anything dramatic. I didn’t install solar panels. I didn’t replace every appliance at once. I didn’t rewire the house or spend thousands upfront. Most of what I did cost very little — or nothing at all. Some of it I could do in an afternoon. And yet the results were real, measurable, and honestly a little embarrassing in hindsight, because the fixes were so obvious once I knew what to look for.
If you’ve ever looked at your energy bill and felt that same sinking feeling, this is for you. I’m going to walk you through exactly what I changed, what worked better than expected, what was barely worth the effort, and what I wish I’d done first. No fluff, no vague advice — just what actually moved the needle.
The First Thing I Did Was Understand Where the Energy Was Actually Going
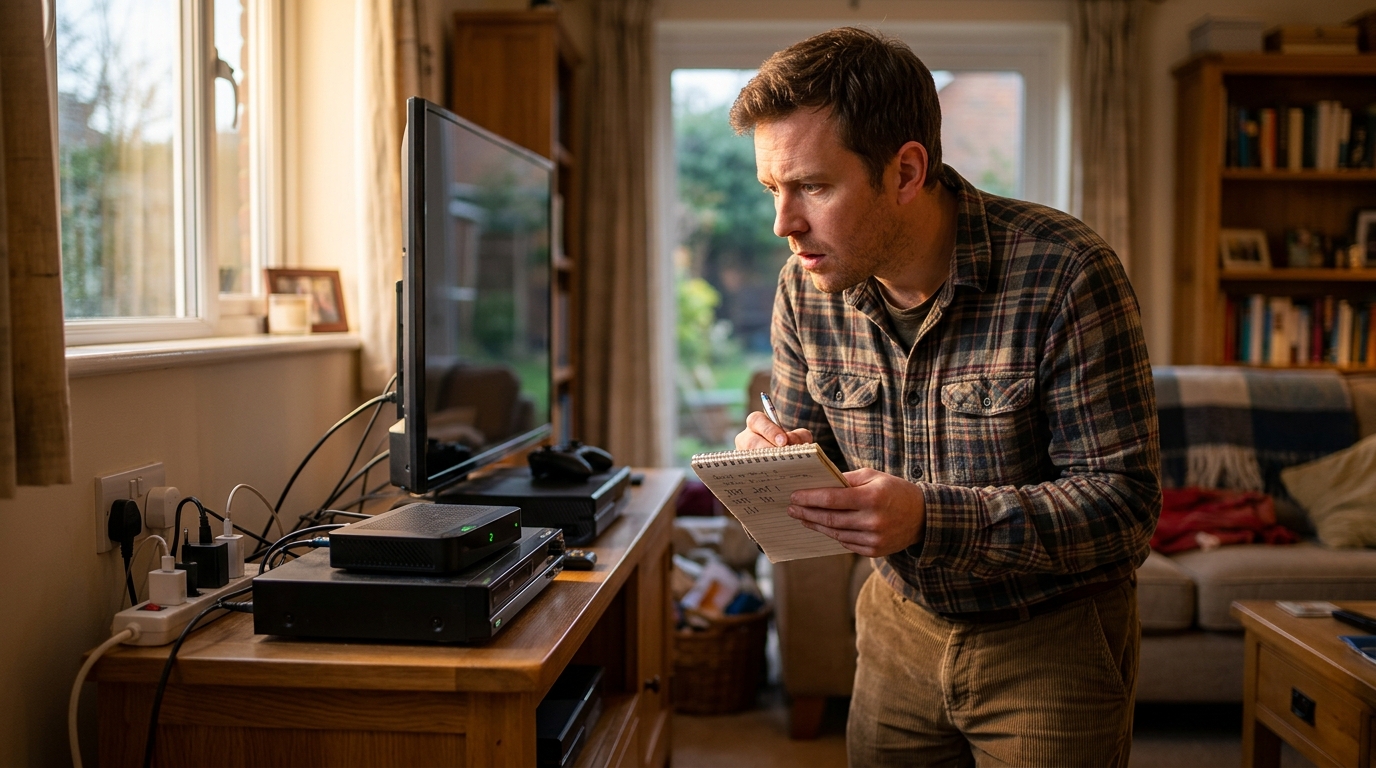
Before I changed anything, I spent a week just paying attention. I walked around my house with a notepad like some kind of energy detective, and what I found was humbling. Devices I hadn’t thought about in years were quietly sipping electricity around the clock. The old TV in the guest room that nobody watches. The desktop computer left on sleep mode. The phone chargers plugged into the wall with nothing attached. The cable box — and I cannot stress this enough — the cable box runs almost constantly and draws more power than most people realize.
This phenomenon has a name: phantom load, or standby power. It’s the electricity your devices draw just by being plugged in, even when they’re “off.” Studies suggest this can account for anywhere from 5% to 10% of a home’s total electricity use. In my house, once I started measuring with a simple plug-in energy monitor, I found several devices that were costing me real money while doing absolutely nothing useful.
The fix that made the most immediate impact was replacing several of my standard power strips with smart power strips that automatically cut power to peripheral devices when a main device — like a TV or computer — is turned off. It sounds almost too simple, but I noticed a measurable drop in my usage within the first billing cycle.
The bigger lesson here, though, was about approach. You cannot fix what you cannot see. I wasted time guessing before I started measuring. If you do nothing else from this article, start by understanding your baseline. Check if your utility offers a free home energy audit — mine did, and the technician found two things I never would have caught on my own. Once you have that picture, the path forward becomes surprisingly clear.
“The biggest waste in most homes isn’t the big stuff — it’s the hundred small things nobody ever thinks about.”
And honestly? That’s both the frustrating part and the hopeful part. Because it means the solutions are also small — and they add up fast.
How Swapping Out Light Bulbs Saved Me More Than I Expected

I know. I know. You’ve heard the LED bulb thing a thousand times. I had too, which is probably why I kept putting it off. But when I finally sat down and counted the bulbs in my house — forty-three, in case you’re wondering — and then looked up how many were still incandescent or CFL, I realized I had only made the switch in about half of them. The rest were originals from when we moved in five years ago.
Here’s the thing about LED bulbs that didn’t fully click for me until I saw the numbers: it’s not just that they use less electricity per hour. It’s that they last so much longer that the math compounds dramatically over time. A standard incandescent bulb might last 1,000 hours. A quality LED bulb can last 15,000 hours or more. I was replacing bulbs constantly and not even connecting that cost to the energy equation.
I replaced every remaining incandescent and CFL in my house over two weekends. The upfront cost stung a little — I’m not going to pretend it didn’t — but I bought in bulk and used a coupon, so the total came to about $65 for the whole house. Based on my usage patterns and the wattage differences, I estimated annual savings of around $90 to $110 just from the bulb swap alone. That’s a payback period of less than a year.
- Living room and bedroom lamps: switched to warm white LEDs (2700K) for a cozy feel that’s actually quite close to incandescent
- Kitchen and bathroom: went with bright white (4000K) for better visibility
- Outdoor fixtures: these were the biggest wins since they sometimes ran all night
- Rarely-used rooms: added motion sensor bulbs so lights aren’t left on by accident
One thing I’d tell you to watch out for: not all LED bulbs are equal. I bought a cheap pack once from a discount bin and they flickered, gave off an ugly color, and two burned out within six months. Stick with reputable brands. The extra dollar or two per bulb is genuinely worth it, and you’ll make it back many times over.
But as satisfying as the lighting change was, it wasn’t the biggest win in my house. That came from something I had been completely ignoring for five years — and once I fixed it, I couldn’t believe I’d waited so long.
The Thermostat That Paid for Itself in Four Months
Heating and cooling typically account for about half of a home’s total energy use. Half. Which means if you’re going to make one significant upgrade, the thermostat — or more specifically, how intelligently you control your heating and cooling system — is where the leverage is.
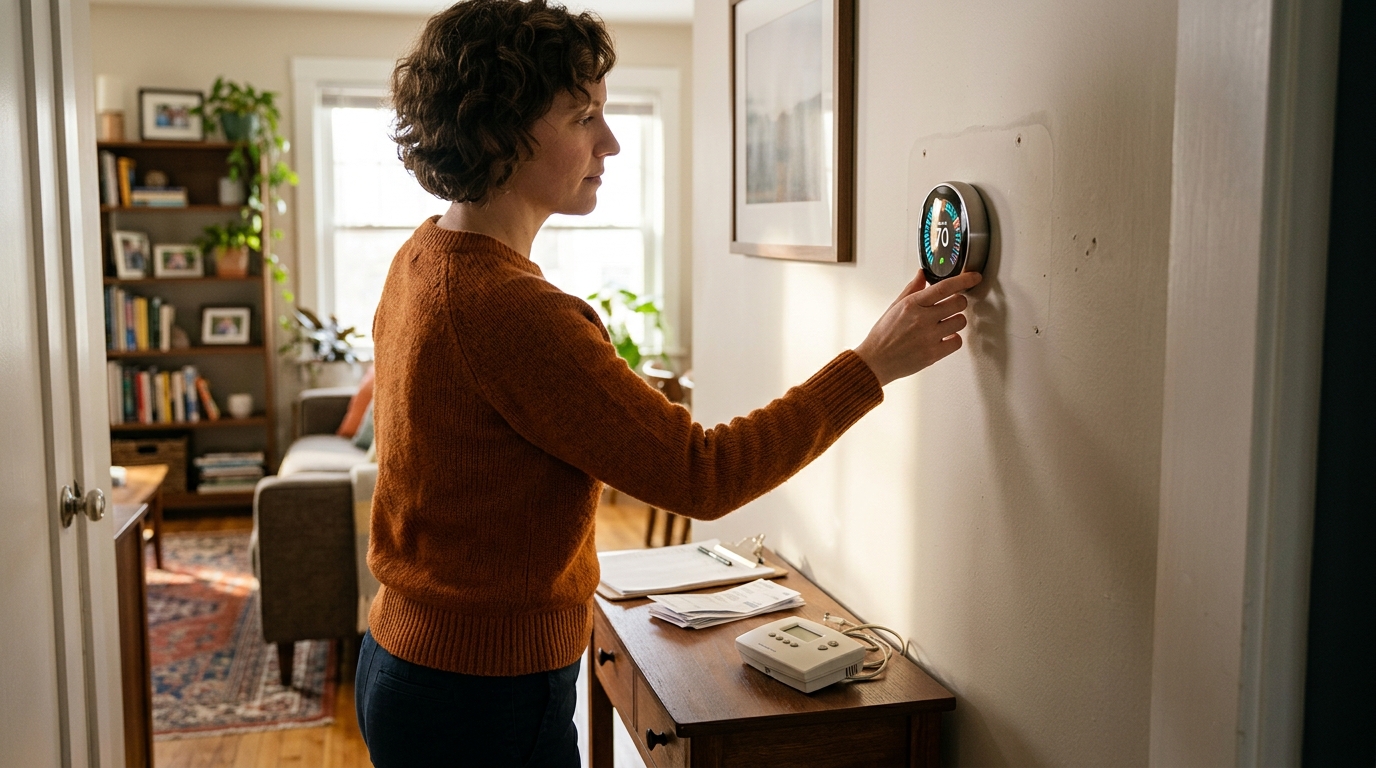
I had been living with the thermostat that came with the house. It was a basic programmable model, and honestly I had never even set the programming because I could never figure out the interface. So it just ran at whatever temperature I set manually, which meant the house was heated or cooled to full comfort even when we were at work, even in the middle of the night, even when we were away for a weekend.
Installing a smart thermostat changed everything. The setup took me about an hour, including watching a tutorial video twice because I’m not especially handy. The learning curve for actually using it was minimal — I set a basic schedule through the app in about ten minutes. The first full month after installation, my heating and cooling costs dropped by roughly 23%.
What makes the smart thermostat different from a regular programmable one isn’t just the scheduling — it’s the intelligence. Mine learns my patterns over time, knows when I’m typically home and when I’m not, and adjusts automatically. It also gives me a monthly report that shows exactly how many hours the system ran and what the weather was like, which helped me understand my usage in a whole new way.
- Set the schedule first: even a basic morning/evening/away schedule makes a huge difference
- Use the geofencing feature if your model has it — the system kicks on before you get home, not after
- Check the energy reports monthly: you’ll start to see patterns and can optimize further
- Don’t overlook the “eco” temperature ranges — a few degrees difference when you’re away adds up enormously
The device itself cost me around $130. Based on my savings, it paid for itself in about four months. That’s the kind of ROI that’s hard to argue with. And unlike some of the other changes I made, this one required essentially zero ongoing effort. Set it and forget it — but actually in a way that saves money rather than wastes it.
Air Sealing: The Unsexy Fix That Made a Surprisingly Big Difference

I want to talk about something that doesn’t get nearly enough attention in these conversations: air leaks. Not insulation, not windows, not the big stuff — just the small, sneaky gaps where conditioned air escapes and outdoor air infiltrates. Because here’s what I learned: in an average home, air leaks are equivalent to leaving a window open year-round. A whole window. Just open. All the time.
When the energy auditor came through my house, he used a blower door test and an infrared camera to show me where air was escaping. I watched on the camera as glowing patches appeared around door frames, window sills, the gap where the wall meets the floor near the sliding door, around the electrical outlets on exterior walls. It was genuinely shocking. I could feel drafts I had just assumed were normal.
The fixes ranged from free to very inexpensive. I spent about $40 total on a combination of weatherstripping for the exterior doors, foam gaskets for the outlet covers on exterior walls, and some rope caulk for the windowsills. The application is straightforward — nothing requires any special skills — and I did the whole house in a single Saturday afternoon.
What I noticed immediately was that the house felt more comfortable, not just more efficient. Rooms that had always felt slightly cold in winter or stuffy in summer suddenly felt more stable. The HVAC system didn’t cycle on and off as frequently. That’s the thing about air sealing — it’s not just about the energy bill. It’s about actually living better in your space.
“Comfort and efficiency aren’t in tension — usually, the things that make your home more comfortable also make it more efficient.”
If you have an older house, this is almost certainly where your biggest untapped savings are hiding. And if you can get a professional energy audit — many utilities offer them free or heavily subsidized — do it. The auditor will find things you never would on your own.
Changing How I Used the Appliances I Already Had
By this point in my energy journey, I had already made most of the hardware changes. But I kept reading that behavior changes could be just as impactful as equipment upgrades — and I was skeptical. I had always assumed behavior changes were the kind of thing people mentioned to feel virtuous without actually doing math. I was wrong.
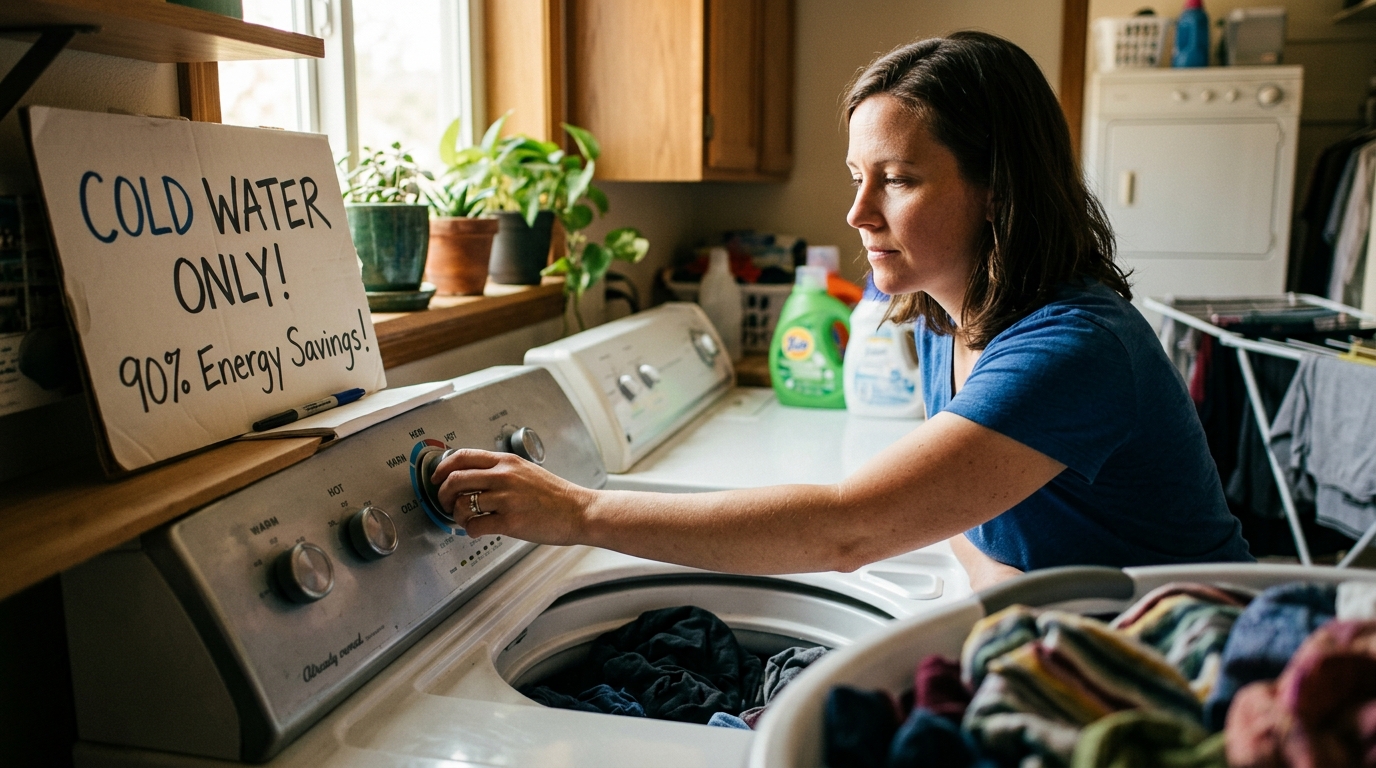
The biggest shift was with my laundry. I switched from hot water washes to cold for everything except heavily soiled loads. About 90% of the energy a washing machine uses goes toward heating the water. The machine itself — the motor, the drum, all of that — is almost irrelevant from an energy standpoint. Cold water detergents have improved dramatically in the past decade, and my clothes come out just as clean. This one change is estimated to save the average household $60-$100 per year.
I also started being deliberate about the dishwasher. Running it only when full (obvious in theory, less obvious in practice), using the air-dry setting instead of heated dry, and running it at night rather than during peak rate hours when my utility charges more. Again — none of this is dramatic. But it accumulates.
- Water heater temperature: I turned mine down from 140°F to 120°F. The recommended setting is actually 120°F — many water heaters ship set too high.
- Refrigerator coils: I vacuumed the coils on the back of my fridge for the first time in five years. Dusty coils make the compressor work harder.
- Oven usage: I started using my toaster oven and air fryer for small meals instead of preheating the full oven.
- Computer settings: enabled aggressive sleep settings on all devices, set monitors to turn off after five minutes of inactivity.
There’s a compounding logic to all of this. Each individual behavior change might save $20 or $30 a year. Stack ten of them and you’ve saved $200-$300 without spending a dollar. That’s not nothing. That’s a utility bill.
What My Bill Looks Like Now — and What I’d Do Differently
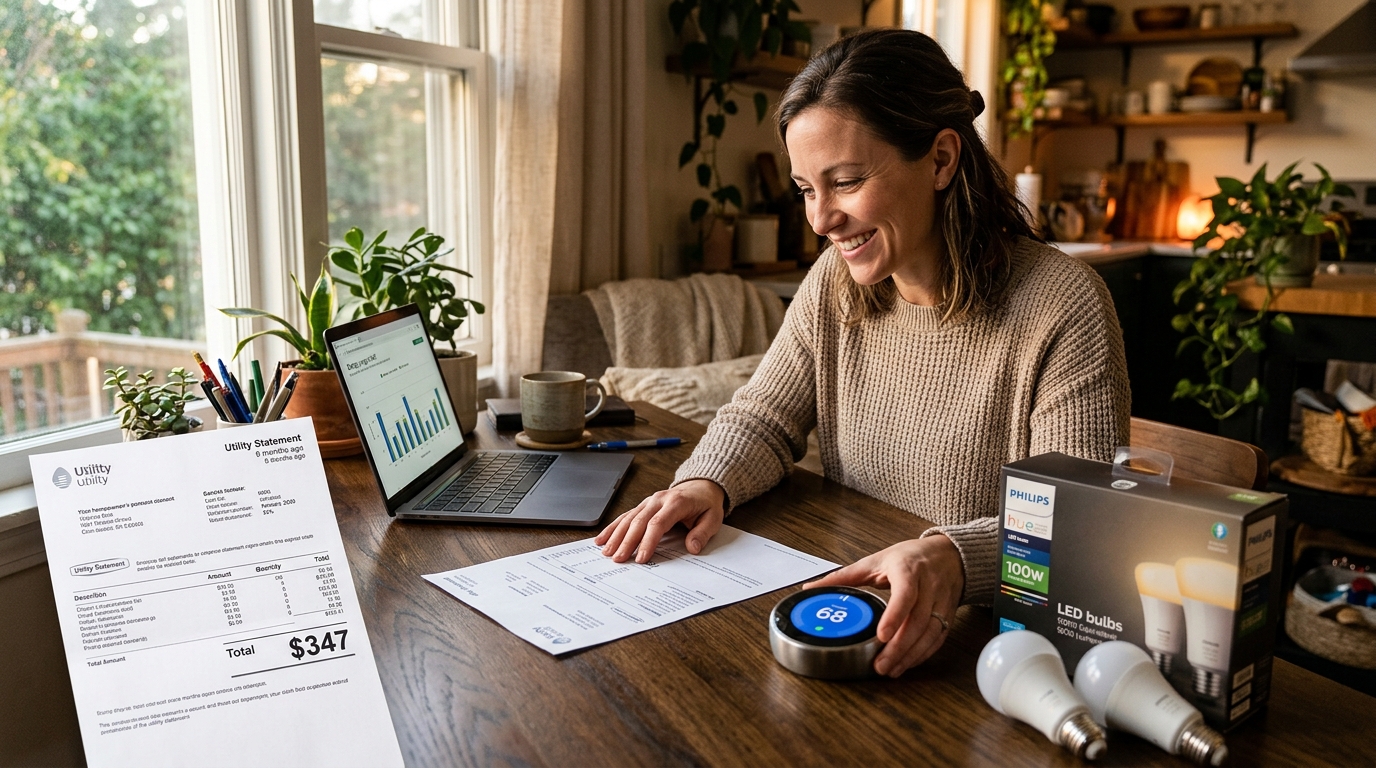
Six months after that $347 bill that started this whole journey, my most recent statement came in at $171. That’s a reduction of about 51%, which still genuinely surprises me when I say it out loud. And critically, I haven’t sacrificed comfort. The house is warmer when we’re home, cooler in summer, and I stopped thinking about it constantly because the systems mostly manage themselves now.
If I’m being honest about the total investment: the smart thermostat was $130, the LED bulbs were $65, the smart power strips were about $45, and the weatherstripping and sealing materials were $40. Everything else — the behavior changes, the setting adjustments — cost nothing. So roughly $280 total, saving me an estimated $1,500 to $1,800 annually. That’s a payback period of about two months.
What would I do differently? I would have started with the energy audit. I wasted the first few weeks making small changes based on guesses before the auditor showed me where the real losses were. If you’re starting from scratch, call your utility company today and ask about a home energy assessment. Many offer them free. That one phone call would have saved me time and probably accelerated my savings by a month or two.
I’d also tell you not to underestimate the power of visibility. Ever since I got a home energy monitor that shows my real-time electricity usage, I’ve become genuinely engaged with managing it. There’s something almost game-like about watching your consumption in real time and finding ways to bring it down. My partner, who was politely skeptical of my energy obsession at the start, now checks the monitor herself and flags when something looks off.
The deeper thing I took away from all of this is that energy waste is largely invisible — and that invisibility is what allows it to persist. Once you start seeing it, you can’t unsee it. And once you start acting on it, the momentum builds in a way that feels surprisingly natural.
You don’t need to do everything at once. Pick one thing from this article — just one — and do it this week. Check your thermostat settings. Swap out the five highest-use bulbs in your house. Walk around with your hand near your door frames and feel for drafts. Start somewhere, measure what happens, and let the results motivate the next step.
Your future self — and your future bank account — will be glad you did.






Leave a Reply