
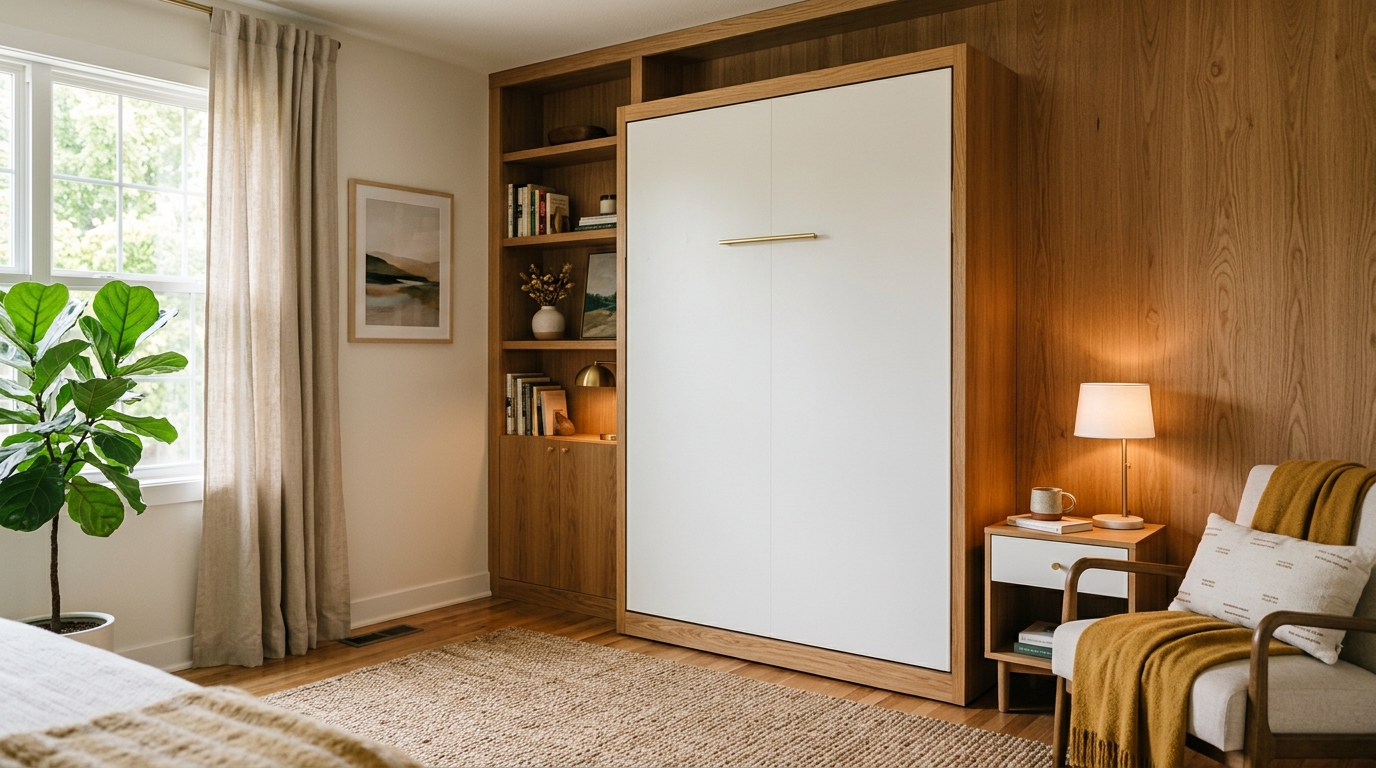
For almost four years, our guest room was a home office with a mattress propped against the wall that we wrestled onto the floor every time someone came to visit. It was roughly as elegant as it sounds. My in-laws slept on it. My sister slept on it. A college friend once slept on it and politely mentioned, over breakfast, that he could feel “every line in the floorboards.”
I kept telling myself I’d buy a proper sofa bed. The problem was that real sofa beds cost $1,500 at minimum, eat up floor space, and are worse than both a real bed and a real sofa. A Murphy bed was the obvious answer — bed for guests, office the rest of the time — but the off-the-shelf options started at $2,500 and climbed from there.
What finally pushed me off the fence was a video of someone building one in a weekend using a commercial mechanism kit. The total cost of his build was around $600. I watched it three times, ordered the hardware the next day, and spent the following Saturday and Sunday in my garage. By Sunday night I had a bed that folds up into the wall, clears the floor for my desk, and has since hosted three separate sets of visitors with no complaints. Here’s what I’d tell my former self about how to do this without making the mistakes I made.
The Floor Mattress We Were Done Apologizing For
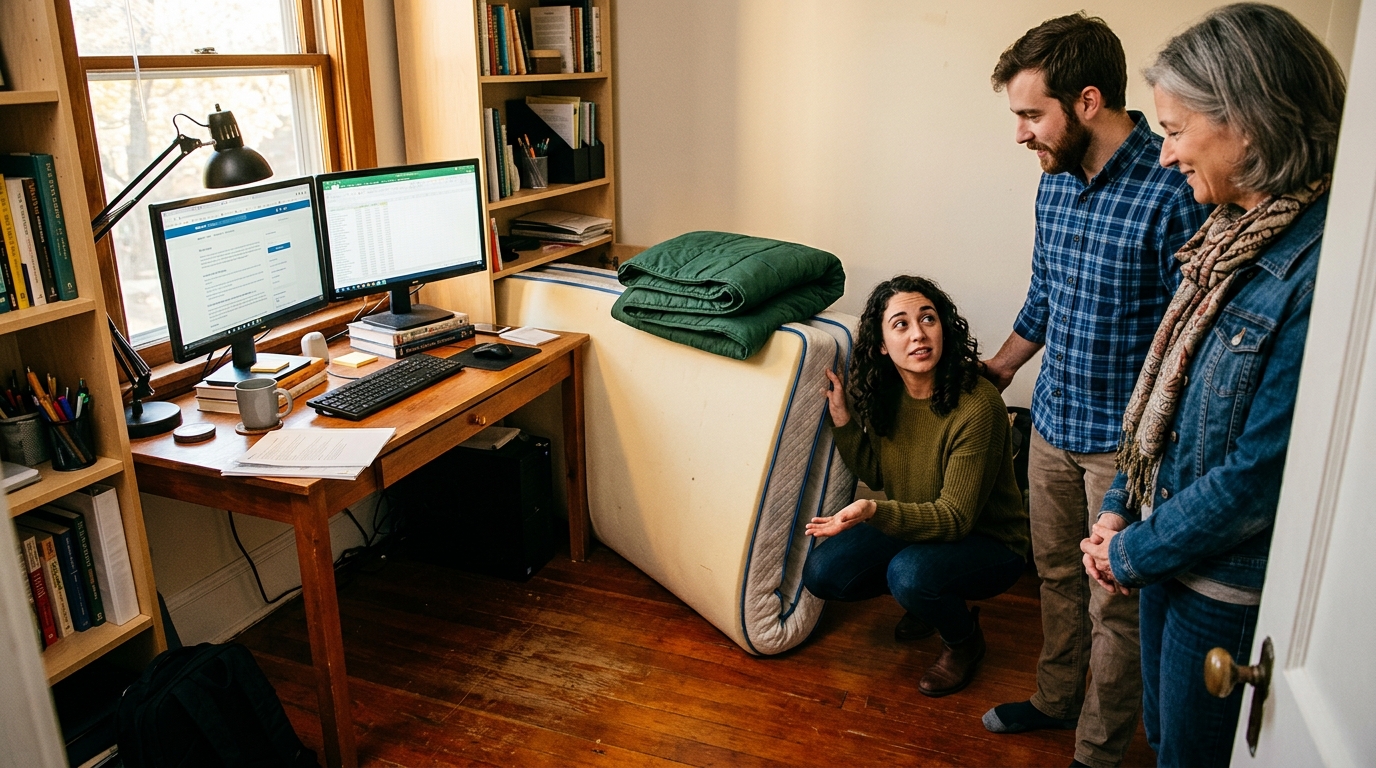
Apologizing to guests about their sleeping arrangement is a particular kind of household shame. Every time someone visited, there was the moment where we’d say, “so… the mattress is stored behind the desk, and we’ll roll it out after dinner,” and watch them nod politely while mentally revising their opinion of our hospitality.
The constraints I had to design around:
- The room is also my partner’s home office. When there are no guests, it needs to be a functional, uncluttered workspace.
- The room is about 10×11 — not generous. Any furniture had to go into the wall, not stick out from it when not in use.
- We didn’t want to modify the structure of the house. No cutting into the wall, no moving outlets, no professional carpentry.
- Budget: under $700 all-in, including the mattress upgrade (our floor mattress was genuinely terrible).
A Murphy bed fit all four constraints if I could build one myself. A commercial kit for the mechanism (pistons, pivot, frame) was around $300-400. Lumber was another $150-200. A new mattress for guests, thin enough to work with a Murphy setup but firm enough not to feel like a torture device, was about $200. Add screws, glue, finish, and a few small hardware items and I was looking at a $650-700 project. Comfortably inside budget.
The part I wasn’t sure about was whether I’d actually finish it. I’m not a professional woodworker. I own a cordless drill and impact driver, a sliding miter saw, a circular saw, and a shop of basic hand tools. What I had going for me was a good mechanism kit, clear instructions, and a free weekend. Turned out to be enough.
Choosing the Right Mechanism (And Where I Almost Went Wrong)
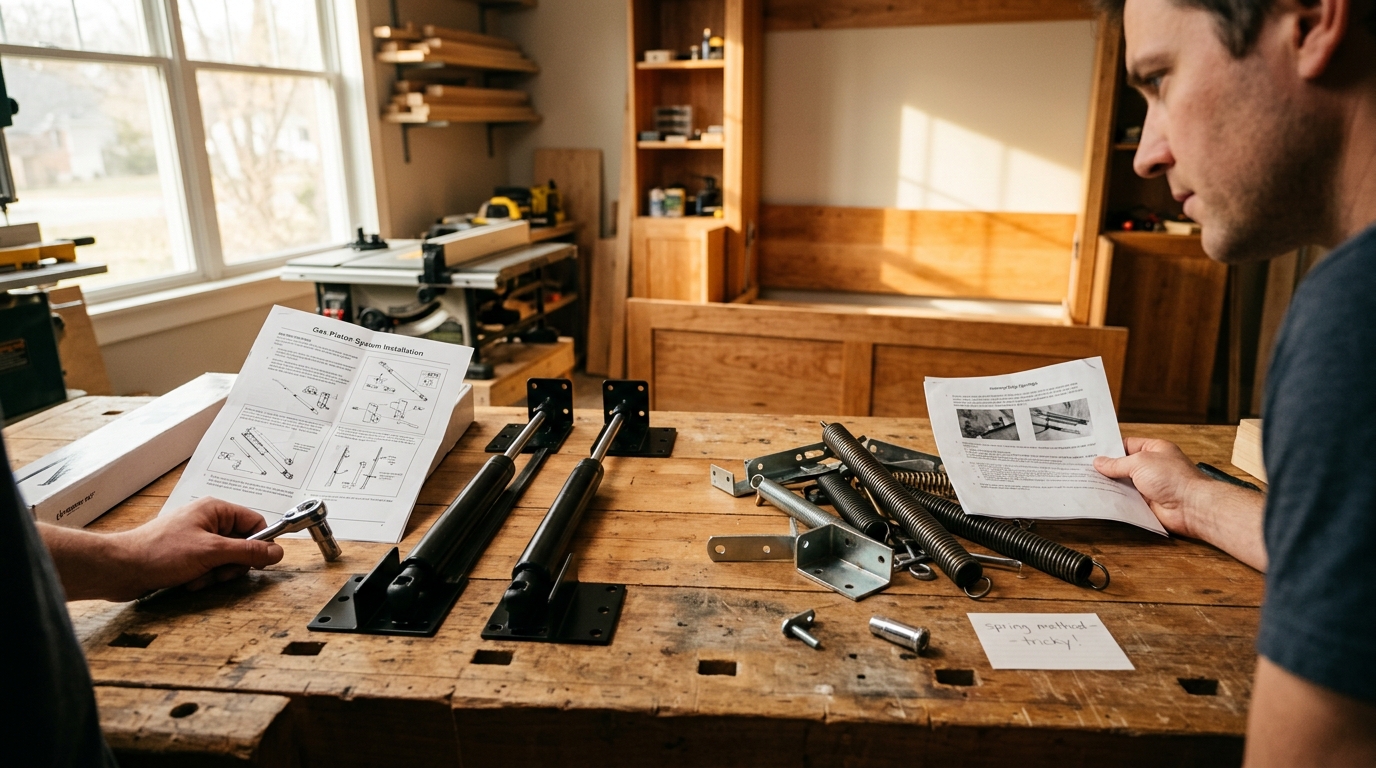
The single most important decision in a Murphy bed build is the mechanism. Everything else — the cabinet, the bed panel, the finish — is a shell around it. If the mechanism is bad, the bed is bad, no matter how beautiful the woodwork.
There are three general approaches for at-home Murphy beds:
- Gas-piston kits. Two or four pistons connect the bed frame to the cabinet. Easy install, smooth lift, no counterweight needed. Best for most DIY builds.
- Spring-loaded mechanisms. Cheaper, but trickier to balance; if the spring tension doesn’t match your bed weight, the bed slams down or won’t stay up. Avoid for a first build.
- Dedicated Murphy hardware kits (like those from Rockler or Create-a-Bed). Complete kits with hardware and detailed plans. Pricier than piston-only but come with the logic already worked out.
I chose option 3 for my first build. I ordered a Murphy bed hardware kit specifically rated for a queen mattress. The kit shipped with a step-by-step plan, all the specialty hardware (hinges, pivots, stop bolts), and a cut list adapted to the mattress size I’d specified.
The near-miss: I almost bought a piston-only kit first because it was $100 cheaper. The reviews mentioned, in passing, that balancing the pistons to your mattress weight was fiddly. On my first build, I didn’t trust myself with fiddly. The complete kit took that variable off the table. If you’re building your second or third Murphy bed, piston-only is fine. Not for a first try.
One more consideration: the mattress matters more than you’d think. A Murphy bed has weight limits on its mechanism. My kit was rated for a mattress up to 60 pounds. I bought a 10-inch memory foam mattress (around 55 pounds for queen). A thick innerspring mattress might have exceeded the limit. Check your kit’s rating before you shop mattresses. Don’t learn this the hard way.
The Cut List and Materials
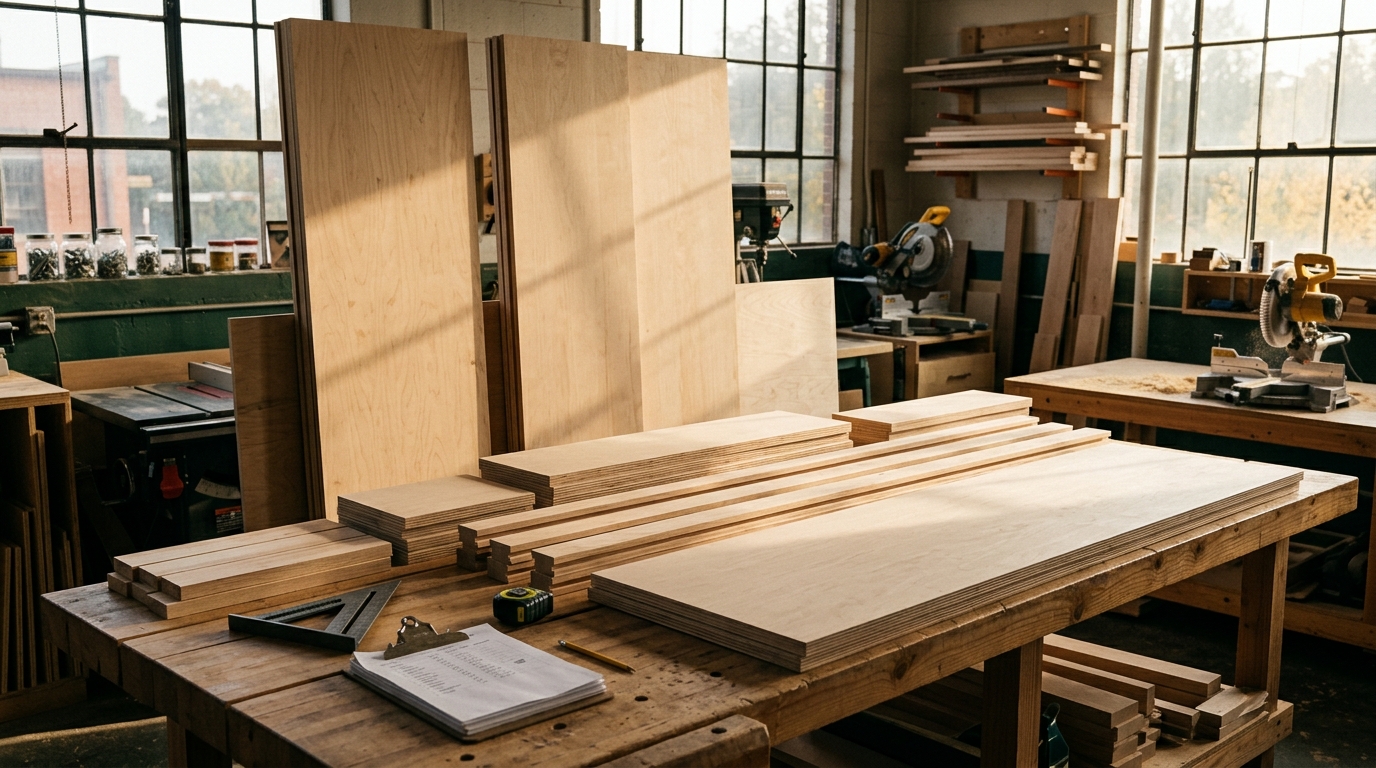
The cut list depends entirely on the kit, but the general shape of what you need is:
- Cabinet sides (2): Full-height pieces that form the “box” of the Murphy bed. Typically 84″ tall, 14-16″ deep.
- Cabinet top and bottom: Horizontal pieces connecting the sides.
- Cabinet back: A thin plywood sheet, or sometimes multiple strips.
- Bed frame: The structural frame that holds the mattress and pivots into and out of the cabinet.
- Bed panel: The “face” of the bed that becomes the “front” of the cabinet when closed.
- Support leg(s): The leg or legs that flip down when the bed is lowered.
Materials-wise, I went with 3/4-inch Baltic birch plywood for the cabinet and bed frame. It’s strong, looks nice with finish, and takes edge-banding cleanly. Half-inch plywood for the back panel. A portable track saw guide for straight rip cuts on the plywood sheets. I don’t own a cabinet-grade table saw, so breaking down a 4×8 sheet required the guide; my circular saw did the actual cutting.
Other materials that earned their keep:
- A pocket-hole jig for quick hidden joints. Changed my approach to cabinet building.
- Wood glue, screws (various lengths), and a handful of L-brackets.
- Edge-banding for the plywood edges — cosmetic, but worth the hour.
- A quart each of pre-stain conditioner, stain, and polyurethane. I used a medium walnut that matched the existing office furniture.
- Felt pads on every contact point between the cabinet and the bed panel, to prevent finish-scuffing when the bed closes.
Total lumber and hardware bill: $195. Mechanism kit: $370. Mattress: $210. Finish and supplies: $55. Grand total: $830 — over my original $700 budget, mostly because the mattress I wanted was $30 more than I’d planned and the kit was slightly more than I’d seen on sale. I’d call that a reasonable overrun. Still a fraction of the $2,500+ off-the-shelf option.
Day 1: Frame and Cabinet
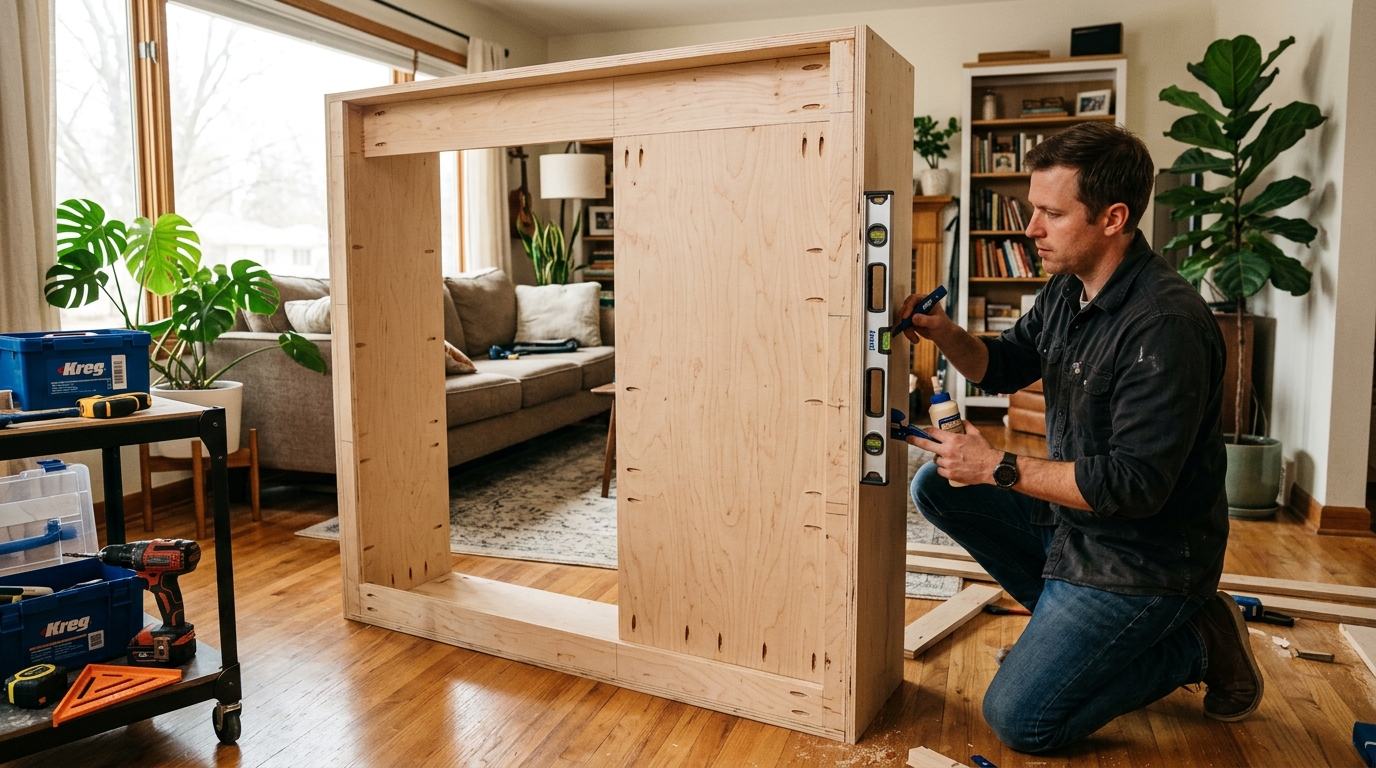
Saturday started at 8am with a plywood break-down in the driveway. Ripping a full sheet of plywood by myself, even with a track saw guide, is a genuinely effortful job. If you have a friend who’ll hold the other end for twenty minutes, call them. I didn’t, and my back made sure I regretted it.
Break-down done by 10:30am. From there, the cabinet itself goes together quickly. The sides, top, and bottom assembled with pocket holes and glue in the living room. A magnetic level on every joint to make sure I wasn’t building a parallelogram. By lunch, I had a rectangular cabinet shell sitting on its side in the middle of the guest-room floor.
The bed frame was trickier. The kit’s frame required drilling very precise holes for the mechanism hinges; misaligned holes would cause the bed to pivot unevenly. I used a drill guide and a step bit and triple-checked measurements. If I could offer one piece of advice for this step: when the instructions say to measure from the same edge every time, do it. I caught myself once measuring from a different edge and would have been off by 3/8″ on a critical hinge location. I almost drilled it before I realized.
By late afternoon, I had a finished bed frame and a finished cabinet, sanded smooth. I stained both that evening and let them dry overnight. By 8pm Saturday, I had a garage full of wood that looked like it might, just maybe, become a Murphy bed.
Day 2: Bed Panel, Finish, and First Lift
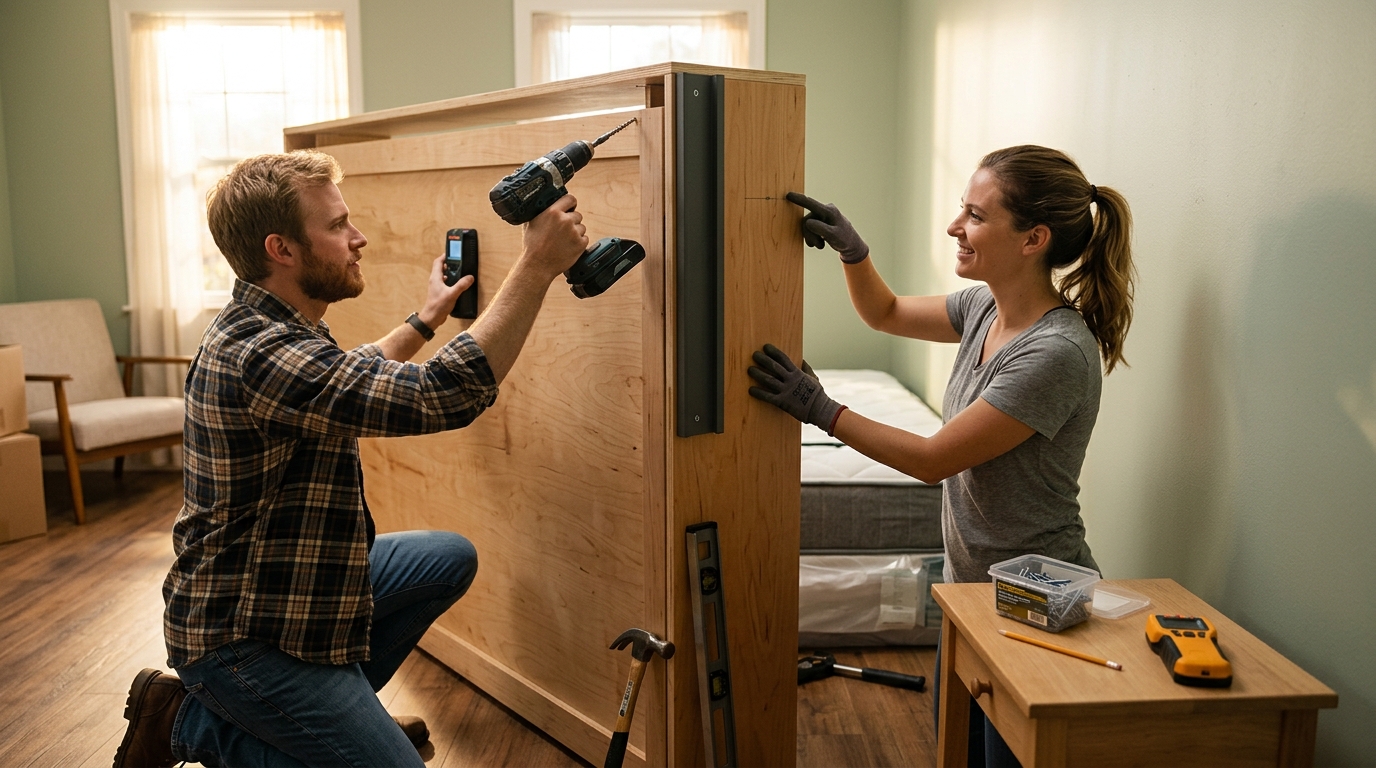
Sunday morning: lift the cabinet into place and anchor it to the wall. This is the step nobody can skip. A Murphy bed must be anchored to studs. If it isn’t, it will pull away from the wall when lifted, eventually fail catastrophically, and potentially injure whoever’s near it. I used a stud finder to locate every stud behind the cabinet’s back, then drove four heavy-gauge screws through the cabinet’s back into those studs. A stud finder with multi-sensor detection made this faster and more accurate than the old single-point finders.
Installing the mechanism came next. The hinges bolt to the cabinet sides at precisely-measured heights. The pistons connect to brackets on the bed frame. This is a two-person job; I recruited my partner for the 45 minutes it took. The bed frame drops into place and the pistons click in. It is deeply satisfying when they do.
The bed panel — the decorative face that makes the closed Murphy bed look like a cabinet rather than a bed folded against a wall — I made from a plywood panel with decorative trim moulding, painted to match the cabinet finish. It took an hour of gluing trim, 20 minutes of painting, and an overnight dry. I installed it in the afternoon.
The first lift was the moment of truth. My partner held one end of the bed frame. I held the other. We pushed the bed up, slowly. The pistons took the weight. The bed lifted smoothly and clicked into its vertical position. The support leg swung back. The bed held itself closed against the cabinet.
I stood there for probably a full minute. It worked. I made a Murphy bed, in a weekend, in my own garage. It was, and still is, one of the more satisfying projects I’ve ever built.
Final Thoughts: What I’d Do Differently Next Time
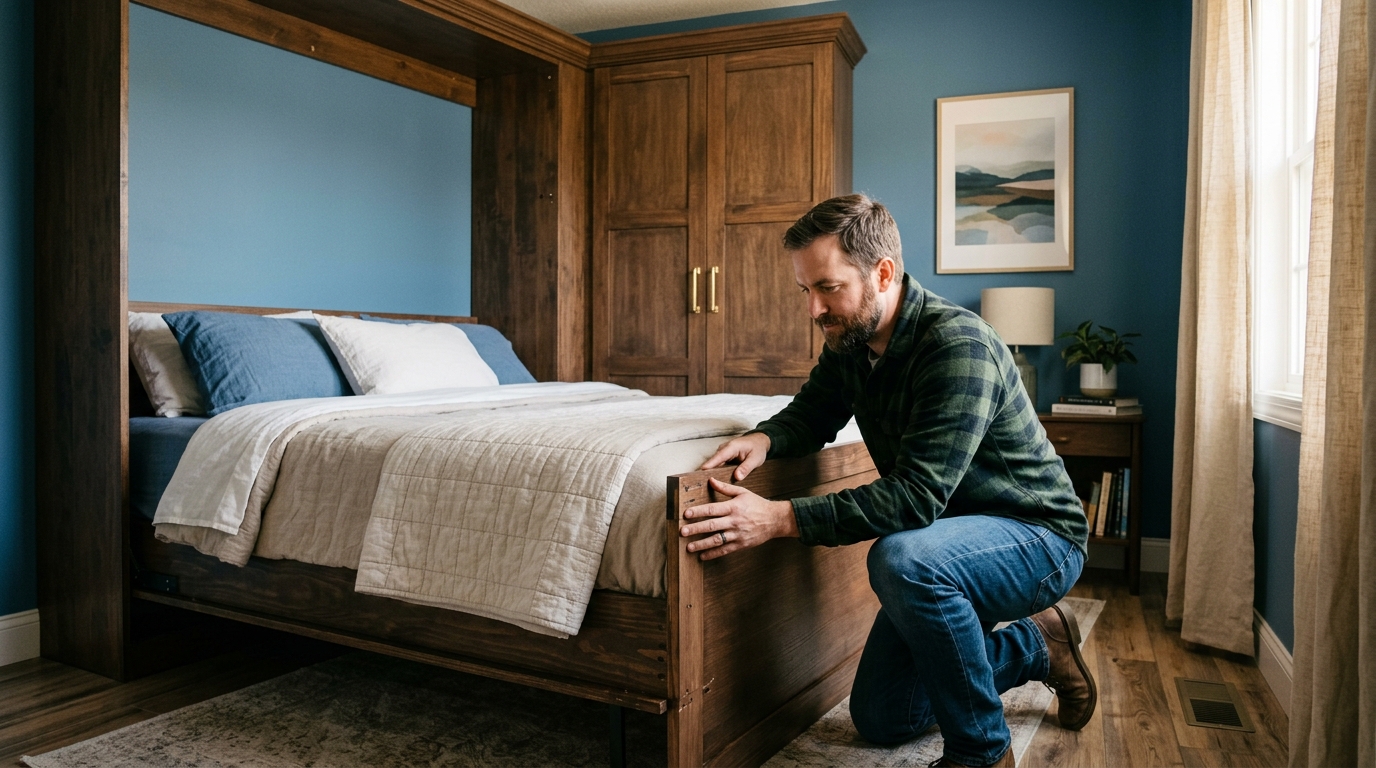
Three months in, the bed has been used about a dozen times. Multiple guests. No issues. Lifting and lowering feels smooth. The cabinet looks, from a distance, like a nice built-in wardrobe. Up close, you can see I’m not a professional cabinetmaker — the joints are fine but not perfect, the finish is good but not flawless — but in the context of “a thing I built in a weekend that does a job,” I’m proud of it.
A few things I’d do differently next time, if there is one.
First, I’d use a 1-inch plywood for the cabinet sides instead of 3/4-inch. The extra mass would make it feel more permanent and rigid. 3/4-inch is structurally fine; 1-inch would just feel more like furniture.
Second, I’d add soft-close features on the bed frame’s return-to-vertical motion. The kit I used has a small “slam” when the bed closes if you don’t ease it in. Aftermarket soft-close dampers would solve this for about $60.
Third, I’d design the bed panel with storage space behind it. I noticed some builds online include shallow shelves in the inside of the bed panel — perfect for guest sheets, pillows, or books. I skipped this because I was new to the project. Next time I’d include it.
A note on safety, because I want to be clear about it: a Murphy bed is heavy and potentially dangerous if improperly installed. Anchor to studs. Use the rated hardware. Don’t improvise the mechanism. If you aren’t confident in the structural steps, hire someone for that one piece. The cabinet and face are the creative part. The mechanism is the critical part.
The best compliment a guest has given the new bed: they asked if it came with the house. I consider that a success worth the weekend.
If you have the space, the tools, and a free weekend, this is one of the higher-return DIY projects I’ve ever done. You get back a whole room, you get out of the floor-mattress apology cycle, and you end up with a piece of furniture that would cost triple what you built it for. The skills required are modest. The reward is disproportionate. Go build one.






Leave a Reply