
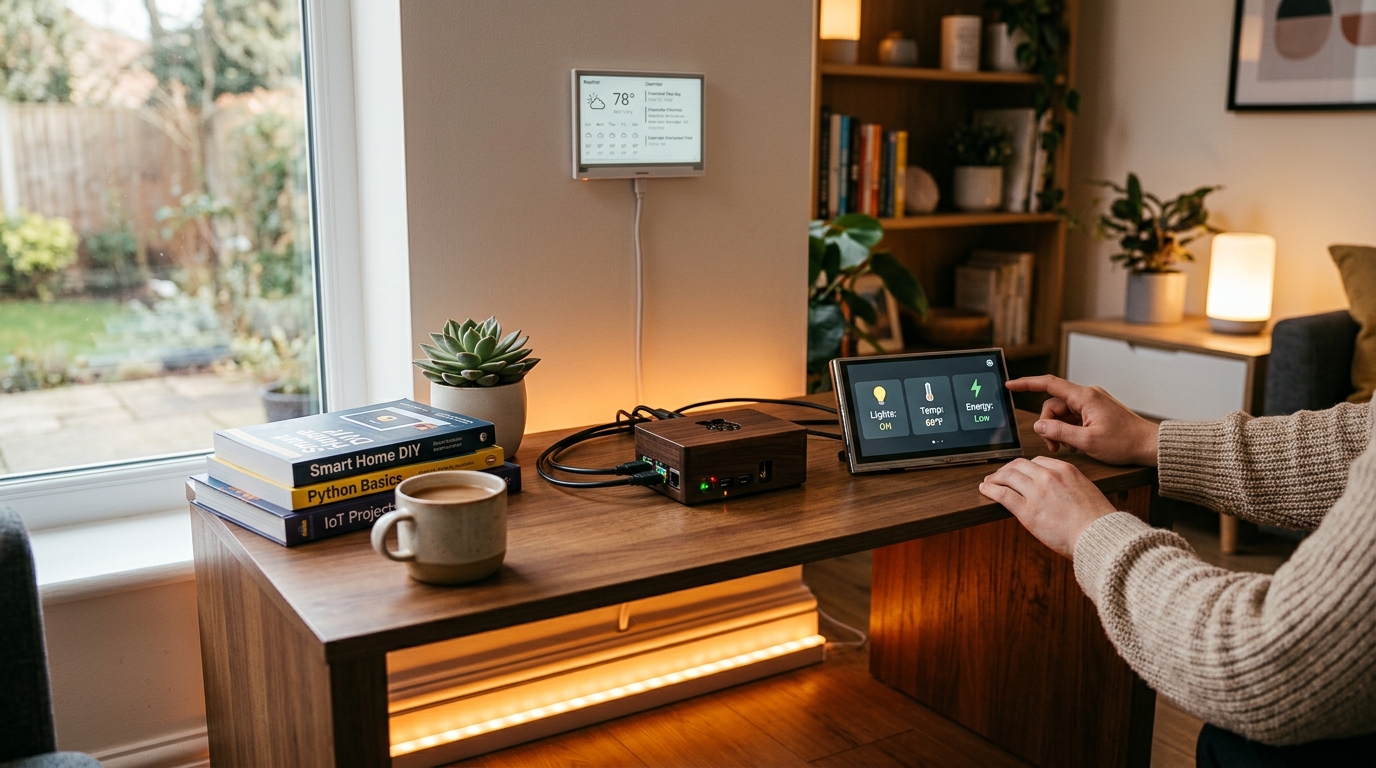
I still remember the moment I realized my house was kind of dumb. It was a Tuesday evening in January, and I was standing in my cold kitchen waiting for the coffee maker to warm up, manually checking whether I’d left the garage light on (I had), and squinting at my phone trying to figure out why my internet had been slow all week. Three separate problems, three separate frustrations — and all of them, it turned out, were solvable with a single $35 computer and a free weekend.
That computer was a Raspberry Pi. I’d heard about it for years — the darling of hobbyists and tech educators — but I always assumed it was for people who knew how to solder things and spoke fluent Linux. Spoiler: I am not one of those people. But I was desperate enough to try, and what happened next genuinely changed how my home works. Not in a “thousand-dollar smart home hub” kind of way. In a scrappy, practical, I-built-this-myself-and-it-actually-works kind of way.
Over the past year, I’ve completed five Raspberry Pi projects that collectively cost me less than $50 in extra hardware. Some were frustrating. A couple failed spectacularly the first time. But every single one taught me something, and most of them are still running quietly in the background of my life right now. Let me walk you through what actually worked — and save you the hours I lost to Stack Overflow rabbit holes.
Starting With the Right Hardware (and Not Overspending)
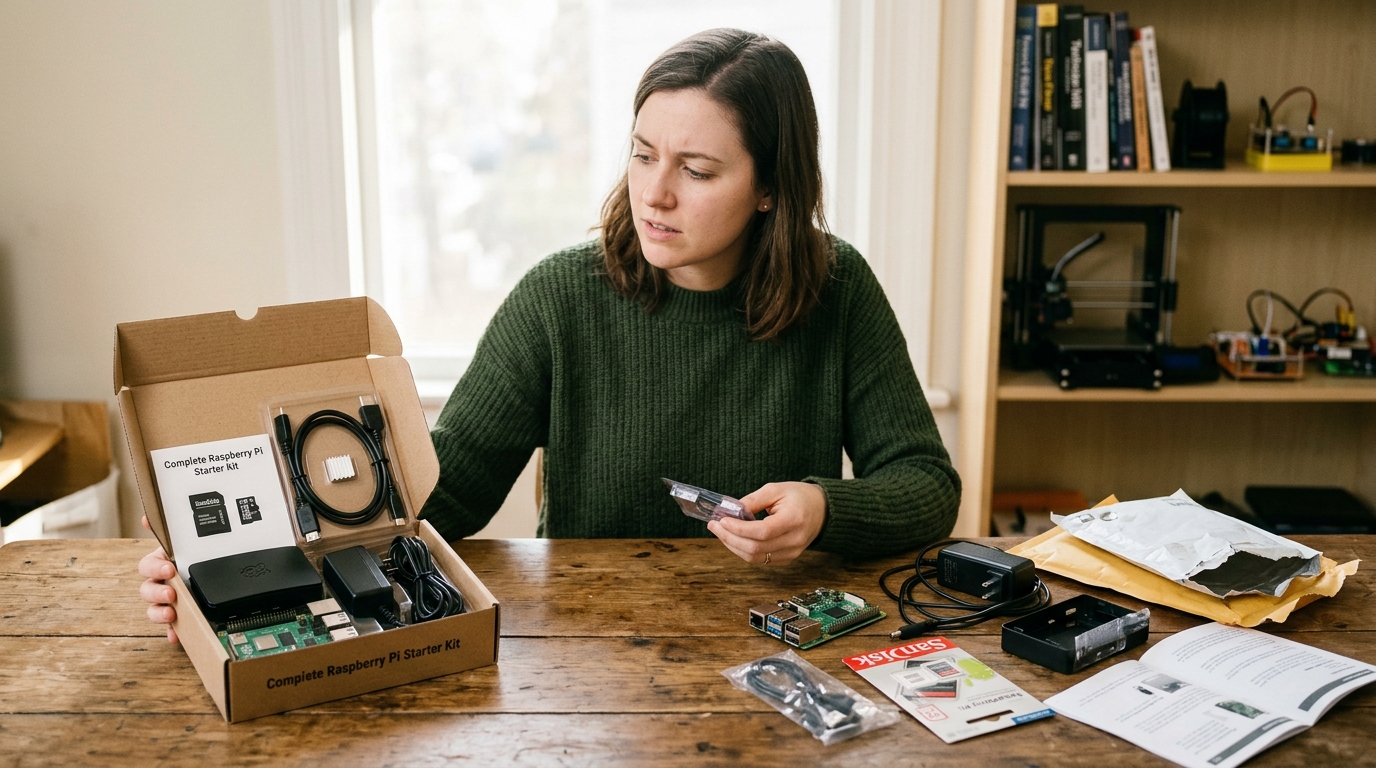
Before I built anything, I made a mistake almost everyone makes: I bought the wrong stuff. I grabbed a bare Raspberry Pi board without thinking through what else I’d need, and then spent three more days ordering a power supply, an SD card, and a case separately. Each arrived at different times. It was annoying and, in retrospect, completely avoidable.
If you’re starting fresh, just get a complete kit. Seriously. The difference in price between buying components piecemeal and buying a bundle is maybe $5, but the difference in sanity is enormous. A good Raspberry Pi starter kit will include the board, a power supply, an HDMI cable, and usually a preloaded SD card. That last part matters more than you think — having Raspberry Pi OS already installed means you’re up and running in under 20 minutes instead of troubleshooting why your system won’t boot.
Speaking of SD cards: not all of them are created equal. I learned this the hard way when my first build kept crashing under load. The cheap card I used couldn’t handle sustained read/write operations. A quality high-endurance microSD card costs about $8 and will save you from mysterious freezes and corrupted installs. Get at least a Class 10 card. Get two if you’re planning multiple projects — they’re cheap enough that having a backup image on a spare card is just good sense.
You’ll also want a case, especially if your Pi is going to live somewhere it might get bumped or dusty. I’ve used everything from official cases to 3D-printed enclosures, but honestly, a simple case with passive or active cooling is the move. The Pi can run hot under load, and a case with ventilation keeps it stable during long-running tasks. Mine sits behind my router and has been running for seven months without a hiccup.
Total hardware cost to get started: roughly $45–$55 depending on the kit. Everything after that — every project I’m about to describe — ran on that same base investment. The software is free. The community support is enormous. The real cost is time, and it’s worth every minute.
Project One: Pi-hole, the Ad Blocker That Changed My Internet
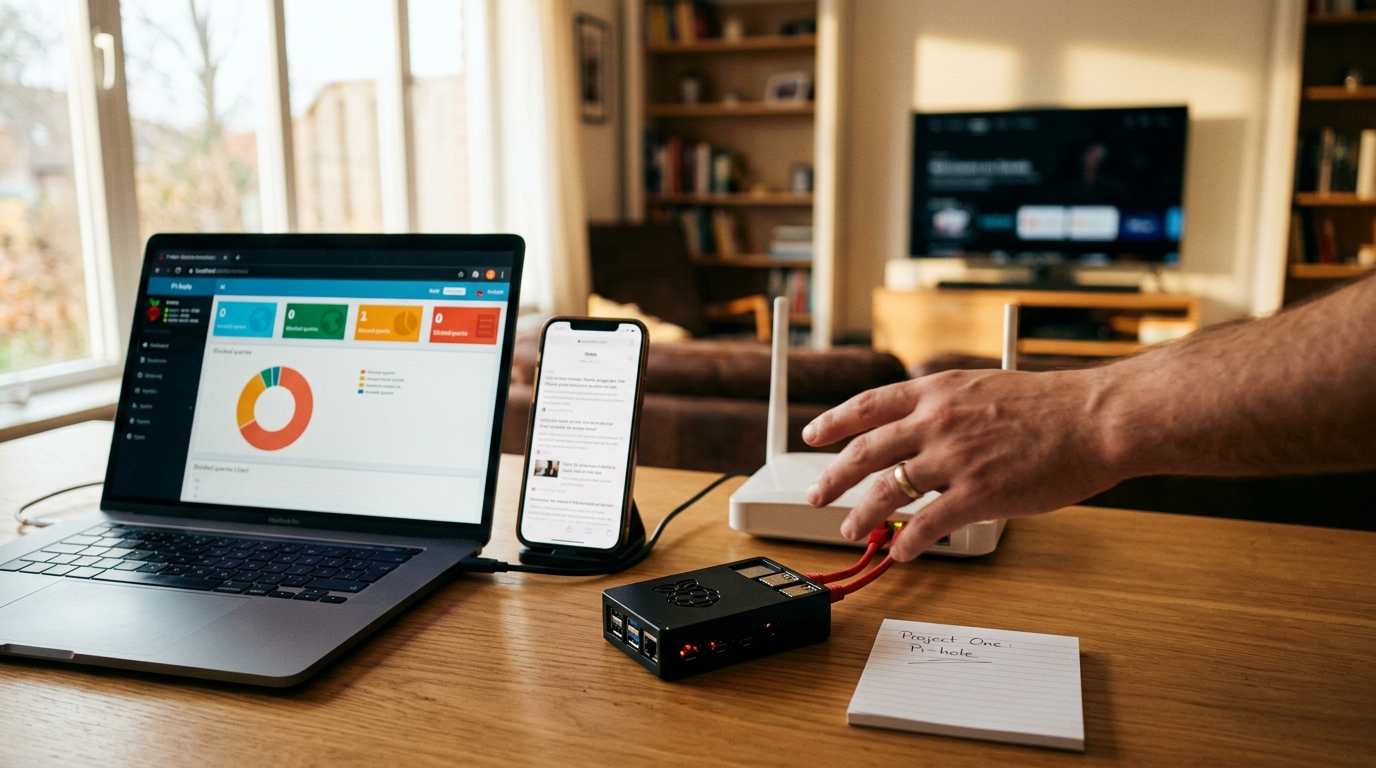
This was the first project I set up, and it remains the most impactful. Pi-hole is a network-wide ad blocker that runs on your Raspberry Pi and acts as a DNS sinkhole — it intercepts requests to known advertising and tracking domains before they ever load. That means ads are blocked on every device on your network. Your laptop, your phone, your smart TV, your kid’s tablet. All of it. Without installing a single browser extension.
Setup took me about 45 minutes including the part where I had to Google what a DNS server was. The Pi-hole software installs with a single terminal command, and the web dashboard is genuinely beautiful — it shows you real-time graphs of queries blocked, which domains are getting hit most, and what percentage of your total traffic is advertising or tracking.
That last number was the shocker. On my network, roughly 28% of all DNS queries were being blocked. More than a quarter of everything my devices tried to reach was advertising infrastructure or data trackers. Seeing that number made me feel a little paranoid and a lot validated for setting this up.
The practical benefits go beyond just cleaner-looking websites. Pages load noticeably faster when they’re not pulling in fifteen ad networks. My smart TV, which used to phone home constantly, got dramatically quieter on the network. And my internet felt snappier overall — not because my ISP changed anything, but because I was cutting out all that overhead.
There’s a small learning curve when a site you actually need gets accidentally blocked, but Pi-hole makes whitelisting easy. I’ve had maybe four or five instances where I needed to troubleshoot a blocked domain in seven months. That’s a tiny price for what you get. If you only do one Raspberry Pi project, make it this one. You’ll wonder how you lived without it.
Project Two: A Whole-Home Temperature Monitor With Cheap Sensors
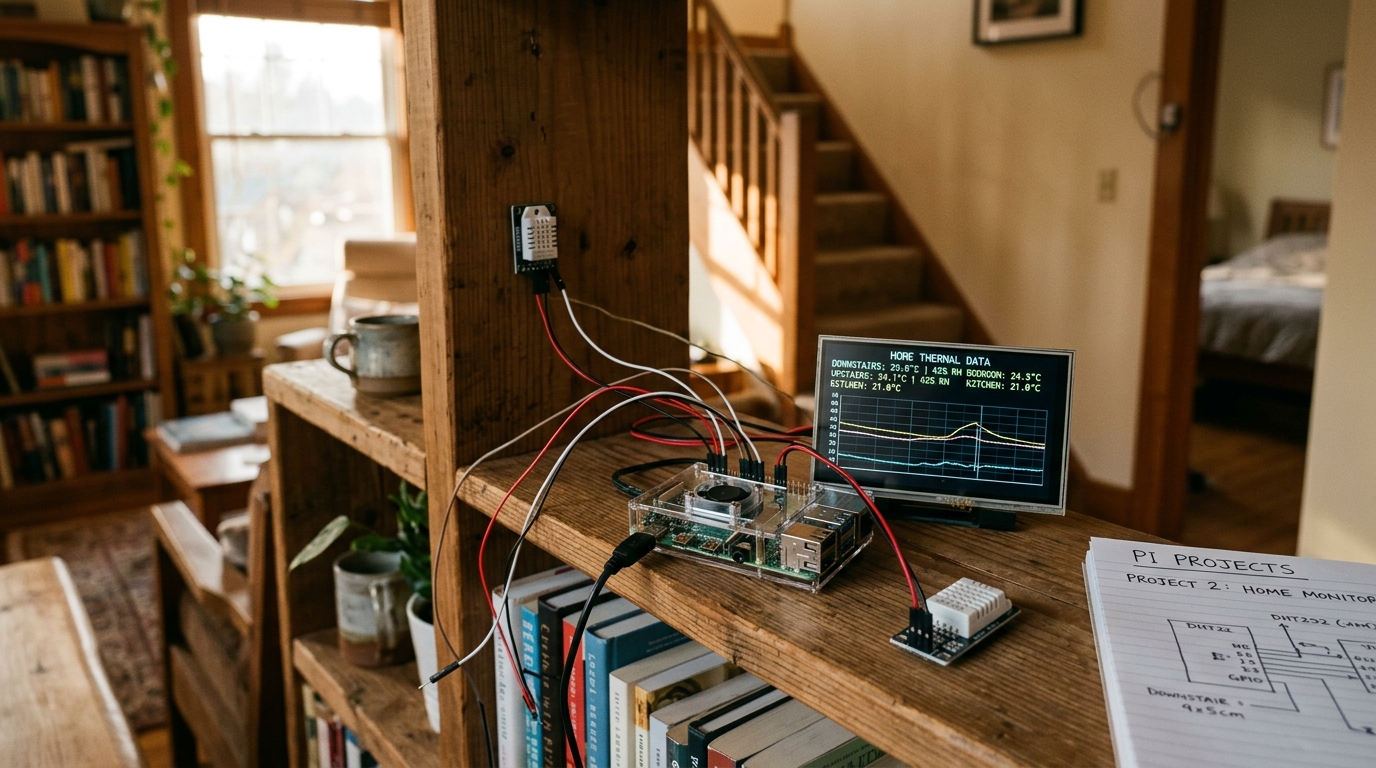
After the Pi-hole success, I got ambitious. My house has a weird heating situation — the upstairs bedrooms are consistently 4–5 degrees warmer than the downstairs living areas, and I’d been trying to compensate by guessing. I wanted data. Real data, logged over time, so I could actually understand my home’s thermal behavior.
Enter the DHT22 sensor. It’s a tiny humidity and temperature sensor that costs about $4 and connects directly to the Pi’s GPIO pins. I bought five of them and placed them in different rooms. With a simple Python script that logs readings every five minutes to a local database, I now have a full temperature and humidity map of my house updated constantly.
Getting the DHT22 sensors wired up was easier than I expected — there are only three pins to connect and approximately one million tutorials online. The trickier part was learning enough Python to write a logging script that wouldn’t crash. But I leaned heavily on existing code from forums, modified it for my setup, and had something working by the end of the first weekend.
What I found surprised me. The temperature differential between floors wasn’t just bad in winter — it was bad year-round, and the worst spot was actually my home office, which sits above the garage and acts like a heat trap in summer. That insight alone changed how I run my HVAC. I now know exactly when to close the upstairs vents and when to crack windows, and my energy bill has dropped accordingly.
“Measurement is the first step that leads to control and eventually to improvement. If you can’t measure something, you can’t understand it.” — James Harrington
I also added a simple web dashboard using Flask so I can check the readings from my phone browser. No app install required, no cloud subscription, no privacy concerns. Just a local webpage that shows me my house’s current stats. It’s not pretty, but it’s mine, and it works every single time.
Project Three: Automating My Garage Light (The Problem That Started It All)
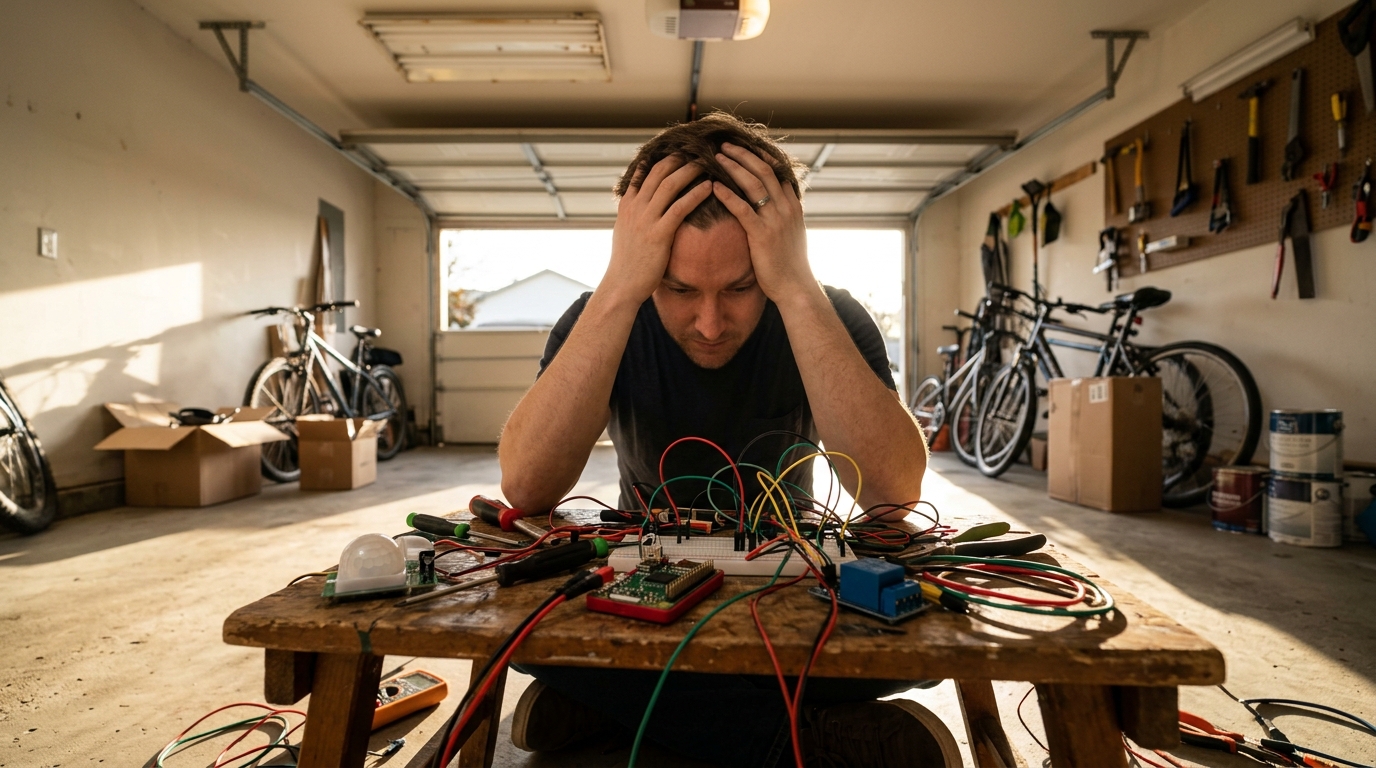
Remember the garage light situation? Here’s how I finally fixed it — and the fix turned into a lesson in why simple solutions beat clever ones.
My original plan was elaborate: a motion sensor, a relay module, and a script that would automatically cut power to the light after 30 minutes of no motion. This felt elegant. It was not elegant. It took two weekends, involved a brief and terrifying moment where I accidentally shorted a relay (nothing caught fire, I want to be clear), and resulted in a system that worked about 85% of the time. The other 15%, the light would just stay on anyway.
So I stepped back and took a simpler approach. Instead of hardware automation, I added the garage light to my existing smart plug ecosystem and wrote a cron job on the Pi that simply checks the time — if it’s after 11 PM, send a command to the smart plug to turn off. Done. 100% reliable. Takes five minutes to set up.
The lesson here is real: complexity is the enemy of reliability in home automation. The simplest solution that solves your actual problem is almost always the right one. I was trying to build something impressive when what I needed was something functional. The motion sensor project taught me more about electronics than anything else I’ve done, but the cron job is what actually solved my problem.
That said, the motion sensor work wasn’t wasted. I repurposed everything I learned into a porch light system that does work reliably — because on the porch, false negatives don’t matter as much, and I used a higher-quality PIR motion sensor that’s far more consistent than the cheap one I started with. Spend an extra $3 on the better sensor. Trust me.
Project Four: A Local Media Server That Finally Replaced My Streaming Subscriptions
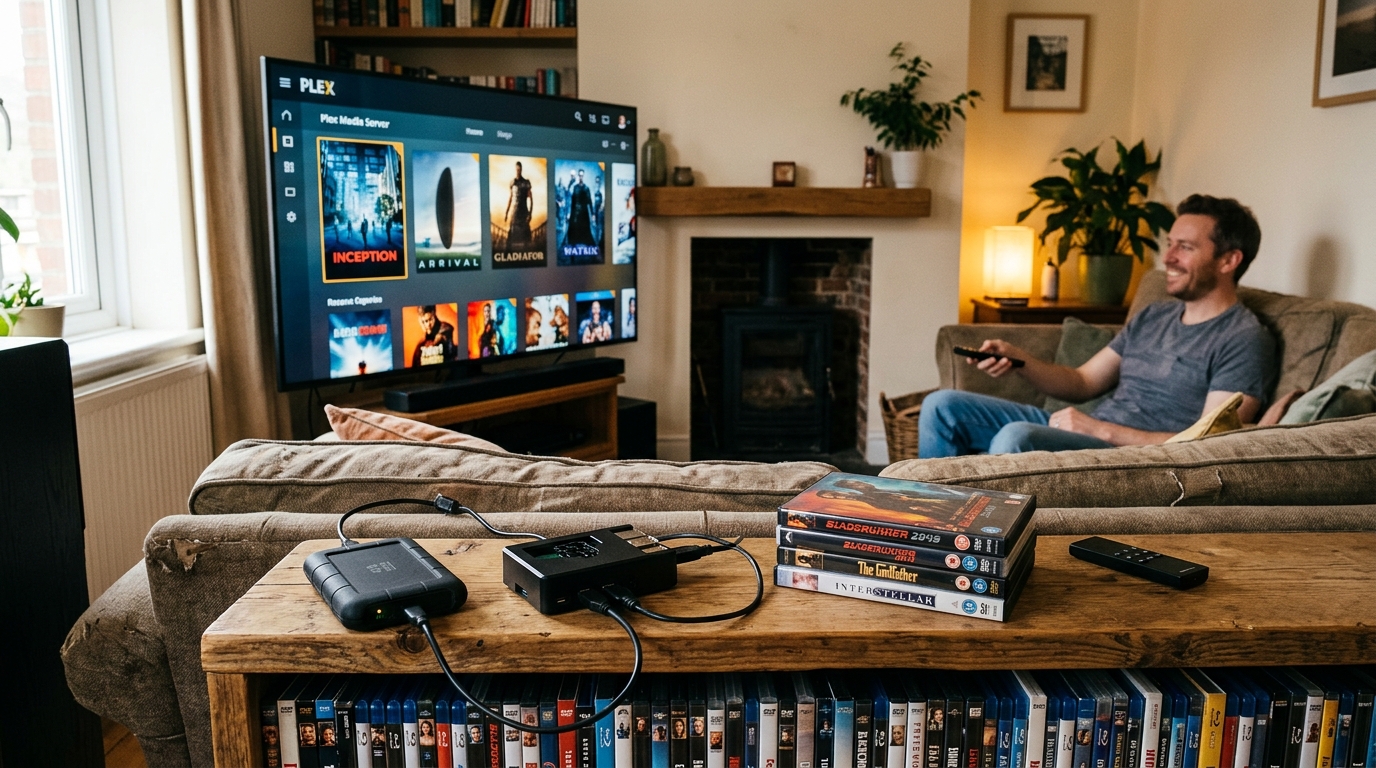
This one is slightly controversial depending on how you feel about digital media ownership, but hear me out: I have a large collection of DVDs that I legally ripped to my computer over years. They were sitting on an external hard drive doing nothing because plugging a laptop into the TV every time I wanted to watch something is deeply annoying. The Raspberry Pi fixed this.
Plex Media Server runs beautifully on a Raspberry Pi 4. I connected my external drive, installed Plex, and now every TV in my house can access my full movie and TV library through a clean interface, just like any streaming service. The setup process was maybe two hours, most of which was waiting for Plex to scan and catalog the library.
The performance is solid for 1080p content, especially with hardware acceleration enabled. I haven’t tested 4K extensively, and there are some reports of the Pi struggling with heavy transcoding — but for my use case (streaming to one or two devices at a time in 1080p), it’s completely smooth. I’ve been running this setup for five months and had exactly one issue, which was a permissions problem that a forum post fixed in ten minutes.
There’s also something genuinely satisfying about watching a movie and knowing it’s coming from a server you built, in your closet, on hardware that cost less than a month of Netflix. I’m not suggesting you cancel all your streaming services tomorrow — the content libraries don’t overlap perfectly. But having a local server for your own collection is a level of media independence that feels increasingly valuable as streaming catalogs shrink and prices rise.
One practical tip: if you’re running the Pi as a media server, it’s going to be on 24/7. Make sure your case has good airflow, and consider enabling the Pi’s built-in power management settings to reduce heat during idle periods. A passive cooling heatsink case is perfect for this use case — silent, effective, and it keeps temperatures well within safe operating ranges even during long movie nights.
What I’d Do Differently (And What’s Coming Next)
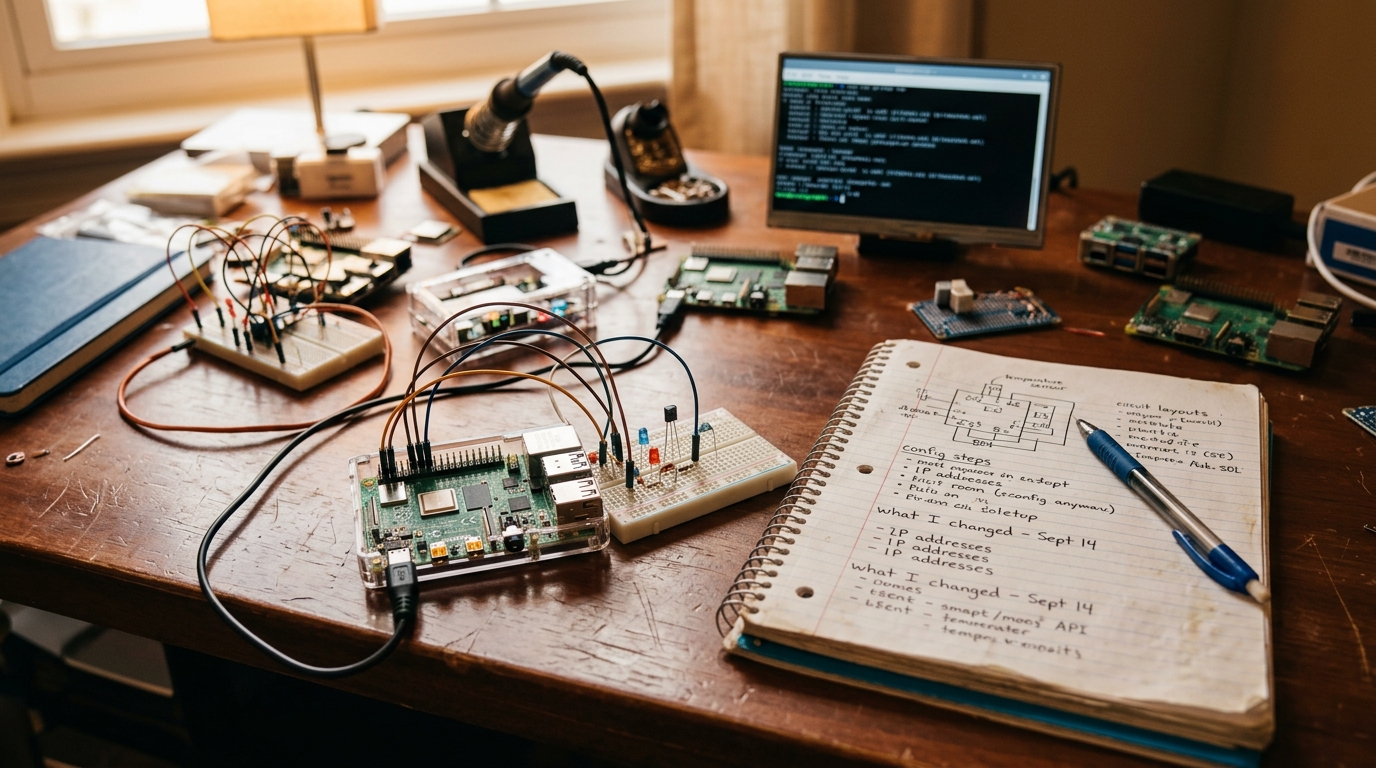
A year in, with five working projects and a list of half-finished experiments on my desk, I’ve developed a few strong opinions about the right way to approach Raspberry Pi home projects. Let me save you the learning curve.
First: document everything as you go. I did not do this initially and I have regretted it constantly. When something breaks six months later and you don’t remember how you configured it, you will be starting from scratch. Keep a text file or even a physical notebook with what you installed, what settings you changed, and what problems you ran into. Future you will be genuinely grateful.
Second: learn how to use rsync or at least how to clone your SD card. Backing up a working Pi image means that if your SD card fails (they do eventually), you’re back up in 20 minutes instead of spending a weekend rebuilding from scratch. I do a monthly backup of each Pi. It takes about 15 minutes and has already saved me once.
Third: the community is your best resource. The Raspberry Pi forums, Reddit’s r/raspberry_pi, and YouTube are full of people who have solved whatever problem you’re facing. Don’t sit with a broken setup for hours before reaching out. Someone has been there.
Here’s what’s on my project list for the next few months:
- A garden soil moisture monitor that texts me when my plants need watering
- A network-attached storage box using an old external hard drive
- A simple security camera system using Pi Camera modules
- Automating my morning routine light schedule based on sunrise times
If you’re sitting on the fence about trying any of this, here’s my honest take: the barrier is lower than you think. You don’t need to be a programmer. You don’t need electronics experience. What you need is curiosity, a willingness to follow instructions and break things (in a recoverable way), and about $50 to get started. The skills you pick up along the way will last a lifetime.
The thing I wasn’t expecting was how much I’d enjoy the process itself — not just the finished projects, but the debugging, the learning, the small victories. There’s a specific joy in watching something you built from scratch actually work in the real world. If you’ve been meaning to try this, let this be the nudge. Your home will thank you, and honestly, so will your curiosity.






Leave a Reply